|
This page will be all about ticket processing. We will go through how to log on and log off a ticket using different event codes. |
In this guide, we will show you how to log on and off a ticket and how you can complete them from both the main application and mobile application.
Before we start, to give you a better understanding of the guide, below are the available ticket statuses in the system:
0 - Created |
This is the first status of the ticket. All tickets created in and out of the system will start with a Created status. |
1 - Planned |
When the user populates the Planned Date on the ticket, the system will also move the status of the ticket from Created to Planned. |
2 - Issued |
When a ticket is allocated to a user for the first time, the status of the ticket will automatically change to Issued. |
Note, when the work has started on the ticket, the status cannot go back to Created, Planned, or Issued. |
|
3 - Work-In-Progress (WIP) |
When a user logs in to a ticket, the status of the ticket will change to Work-In-Progress. Whilst the ticket is in WIP stage, the user cannot login to another ticket until they log off the WIP ticket.
The first WIP event will populate the Started Date / Time of the ticket which will be used to check if the ticket is within the SLA Response Time.
To log off a ticket, the user will be given 2 status options: On-Hold or Closed. |
4 - On-Hold |
This status can be used to log off a Work-In-Progress event. With this status, the ticket will remain open and the user can continue work on another time. |
5 - Closed |
This is the final status of the ticket. This indicates if the ticket is complete. When the status of the ticket is Closed, the system will populate the Completed Date / Time of the ticket which will be used to check if the ticket is within the SLA Completion Time. |
Each of the ticket status change will generate an event. The event will have a Start & Complete Date/Time to show the progress of the ticket.
You can add more On-Hold and Closed events from the Task Advanced Options view.
For WIP event, this will include the notes added by the user, the Travel / Booked / and Divert times.
For On-Hold & Closed events, this will include the notes and signature of the user.
•How to log on/off a ticket from the mobile application view
•How to use the Task Manual Feedback to log staff on/off a ticket
•How to cancel a ticket from the Ticket List view
Note: You will require access to the Task Manual Feedback / Mobile Tasking / Ticket List view along with the Amend permission on the view.
How to log on/off a ticket from the mobile application view
Login to the fmfirst® Cloud mobile application and select Mobile Tasking from the menu. This will navigate you to the ticket list page.
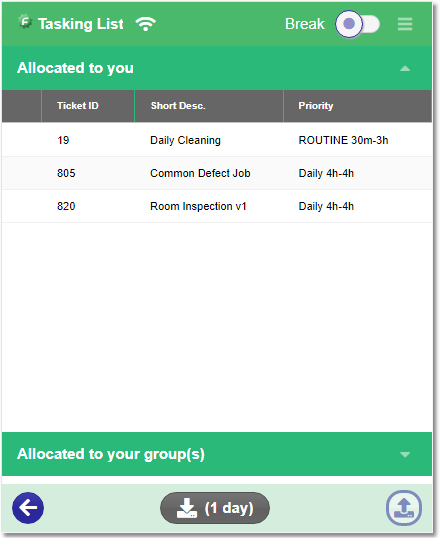
Select / Tap your ticket from the list, this will then open the Ticket Details page.
How to Log On to a ticket and create a Work-In-Progress (WIP) event
Click the Log On button from the bottom toolbar. You will get a prompt to say that you have logged on to the selected ticket and the Log On button will turn into the Arrived / Start button:
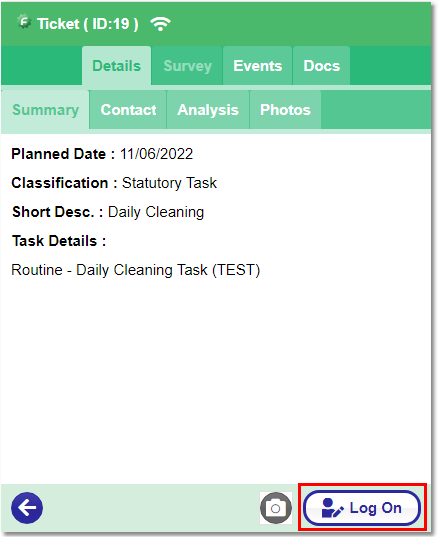
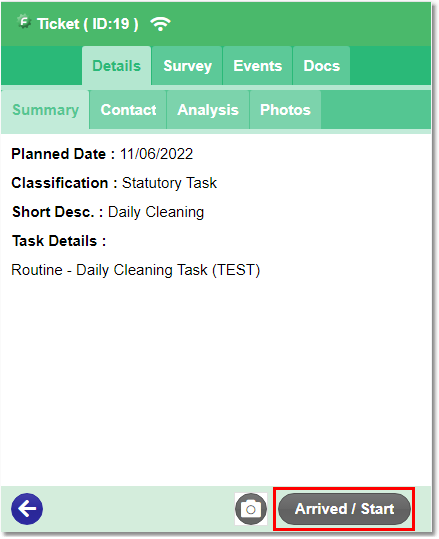
When you press the Log On button, this will create a Work-In-Progress (WIP) event in the background and set the Start Date/Time of the event to the current date/time.
When you press the Arrived / Start button, this will calculate the travel time starting from the point when the Log On button was pressed.
For example, if you press the Log On button on 12/01/2023 at 10:00am and press the Arrived / Start button on 12/01/2023 at 10:30am, this will set the Travel Time of the WIP event to 30 minutes.
NOTE: The below is only relevant if the Task Assessment / Health & Safety / Task Element link is configured against the Ticket Task Type or Template.
If you want to configure this, click here to see the guide.
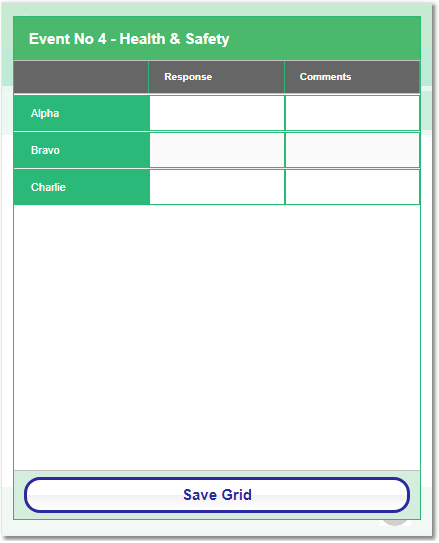
If there is a Health & Safety link against the ticket, this will pop-up after the Travel Time is set.
If there is an outstanding Task Assessment link against the ticket, this will pop-up after the Travel Time is set and Health & Safety check (if present).
Complete the Task Assessment / Health & Safety survey and press the Save Grid button. |
|
How to Log Off a ticket and close the Work-In-Progress (WIP) event
Once you have successfully logged on to a ticket, you can put your device away and carry out the work required for the task.
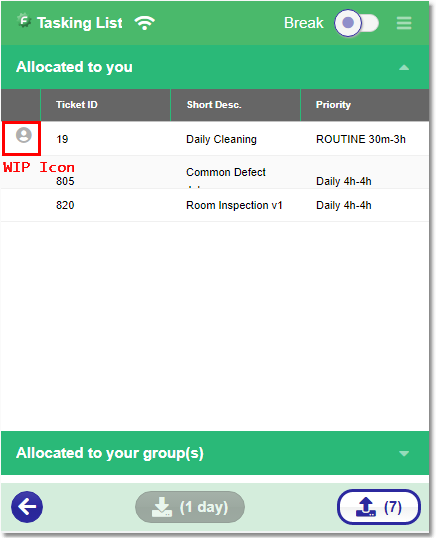
There will be an indicator in the Ticket List to show you which ticket you are currently logged on to. You cannot log on to another ticket whilst you have an outstanding WIP event.
NOTE: If there is a Task Element link against the ticket, you must complete the survey first before you can close the ticket.
Navigate to the WIP ticket, and you will see the Log Off button from the bottom toolbar.
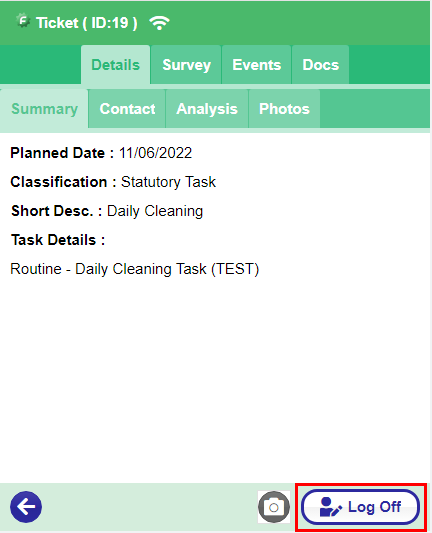
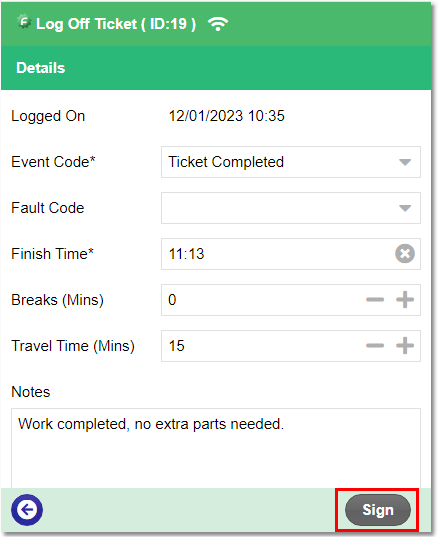
Press the Log Off button and this will take you to the Log Off Ticket form.
Populate the rest of the event Details form (required fields are marked with an asterisk*) and press the Sign button.
Note, Logged On Time + Break Time + Travel Time cannot exceed Finish Time.
Add your signature to sign the WIP / Closed event then press the Log Off button.
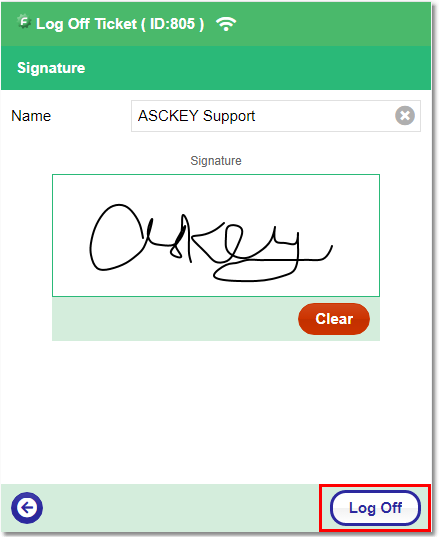
Once you have logged on & off a ticket, press the Upload button on the Ticket List page to sync your device to the server.
How to use the Task Manual Feedback to log staff on/off a ticket
From the main application menu, Open the Task Management / Task Manual Feedback view.
Type the ID or use the lookup to search for the correct ticket from the Ticket ID field.
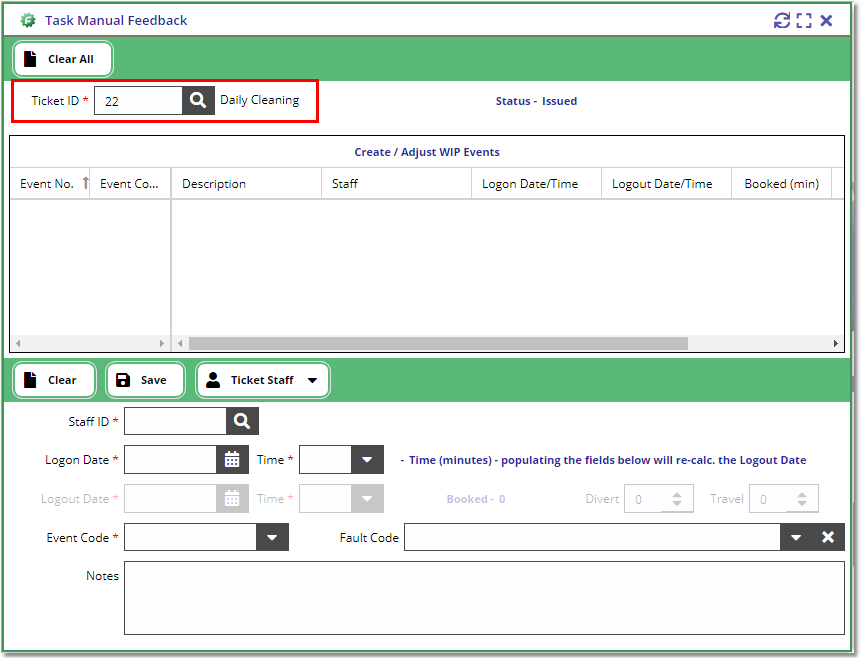
Populate the bottom form and make sure that all the required fields (marked with a red asterisk*) are filled in.
Note, the Ticket Staff button will list the staff who are allocated to the ticket. If there are no staff allocated to the ticket, then the button with be disabled or hidden.
Populate the Staff ID field by either using the Ticket Staff button menu or using the Staff Lookup.
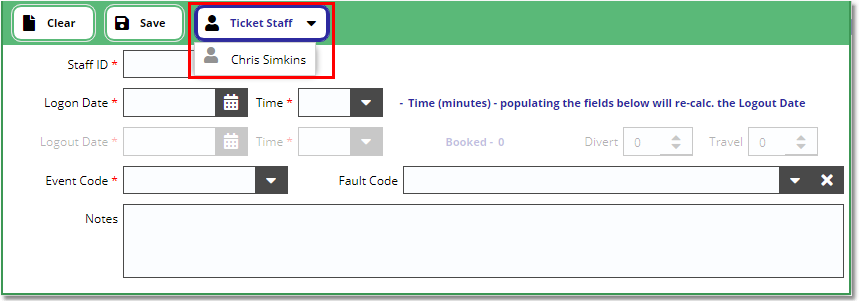
OR
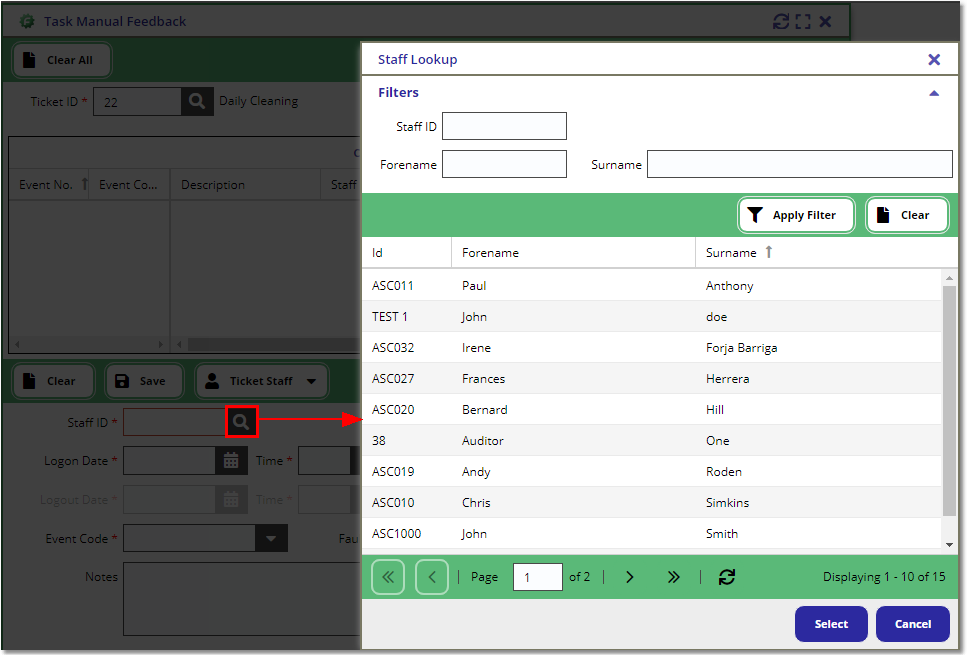
Populate the rest of the form and press the Save button.
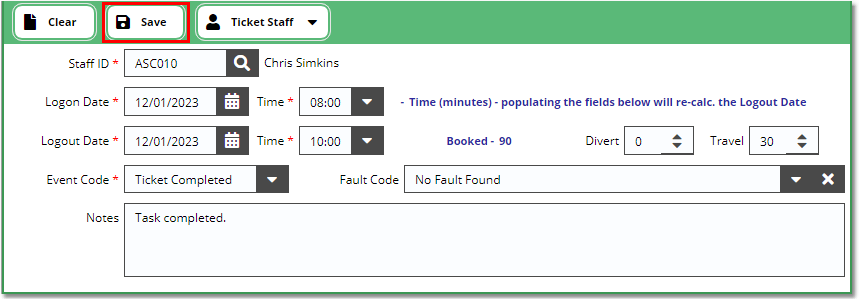
Note: if there is a Health & Safety and/or a Task Assessment link against the ticket, you must complete these before the login event is created.
Note: if there is a Task Element link against the ticket, you must complete the survey before you can Close / Complete the ticket.
Once the event is created & saved, you will get a confirmation message drop-box and you will see the event added on the top grid when you re-load the ticket:
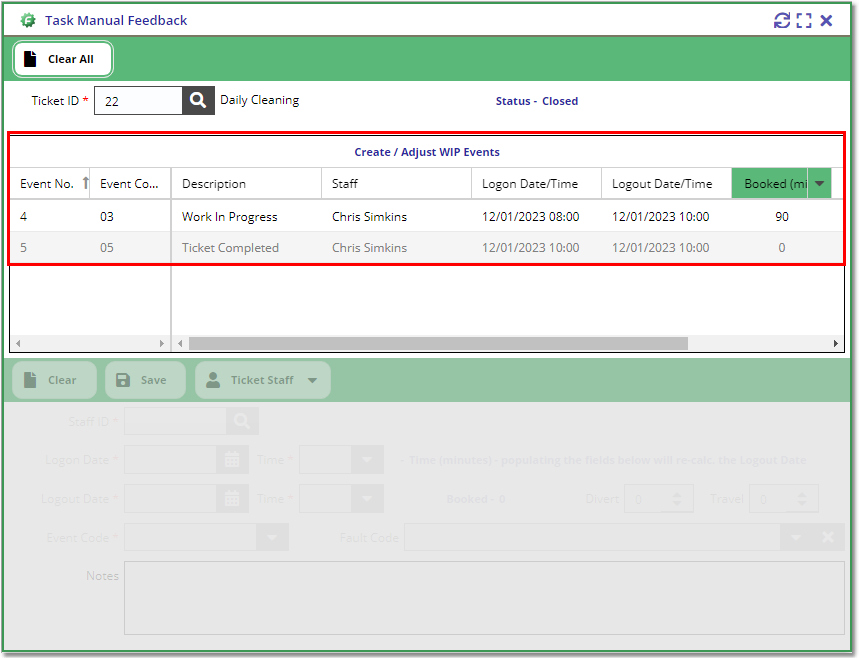
If you want to correct the information on the event, you can click the Work-In-Progress event (Event No.4 on the screenshot above) and this will load the information back to the form and you can make your adjustments.
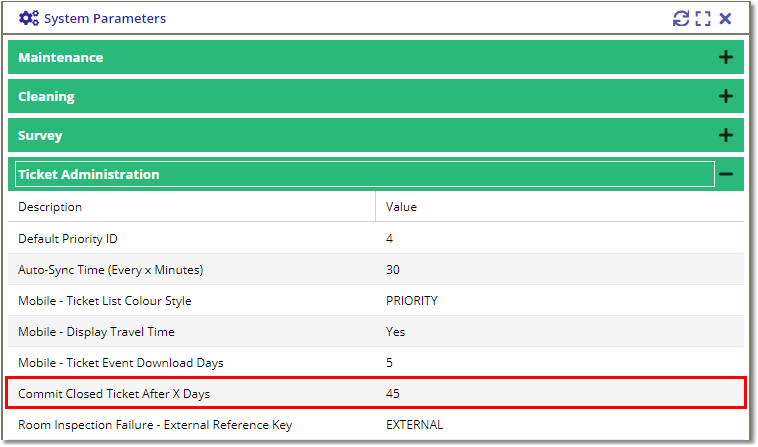
Note: You can only do this for tickets that were closed within the X days defined in the System Parameter view.
|
If the Commit Closed Ticket After X Days parameter is set to 45 days, then you can only edit / amend the ticket & event details within 45 days of closing the ticket. |
How to cancel a ticket from the Ticket List view
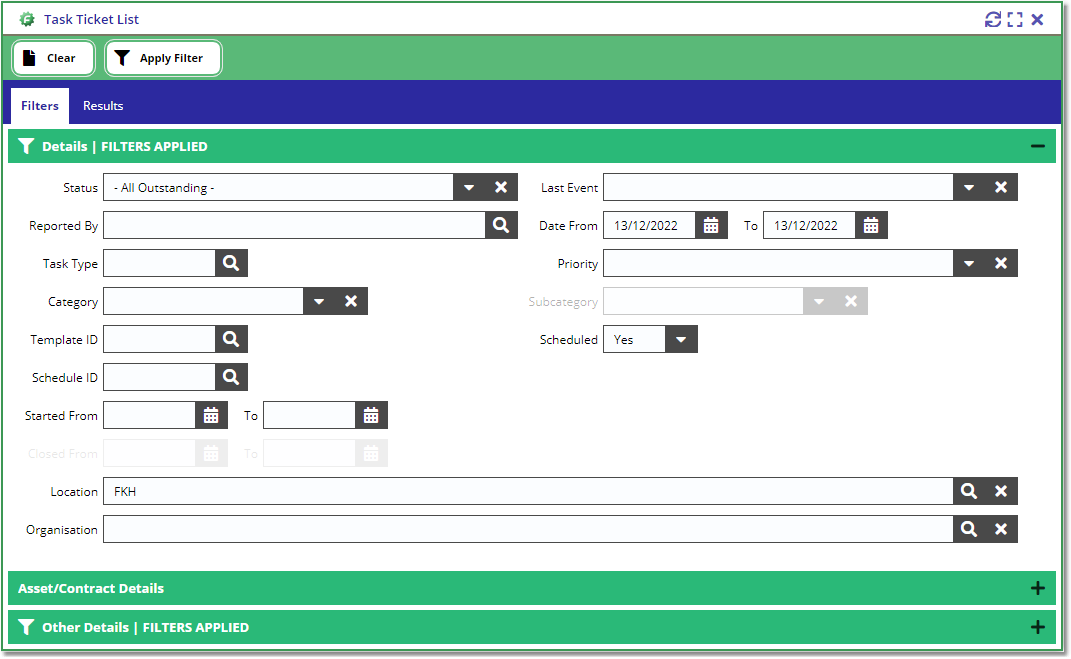
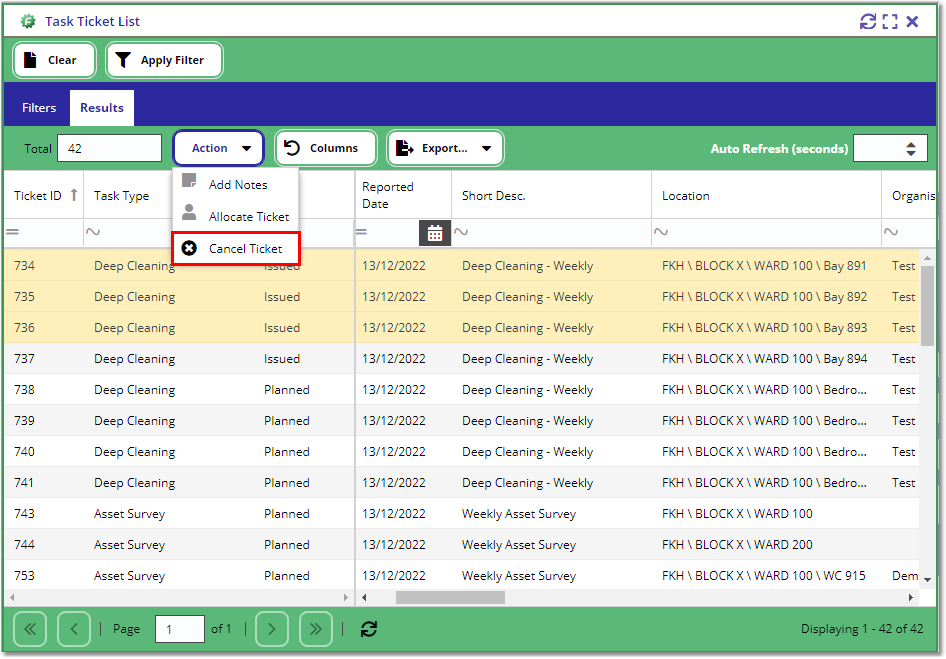
Go to the Task Management / Task List view. Populate the Filter Form so you can easily find the correct ticket/s then press the Apply Filter button.
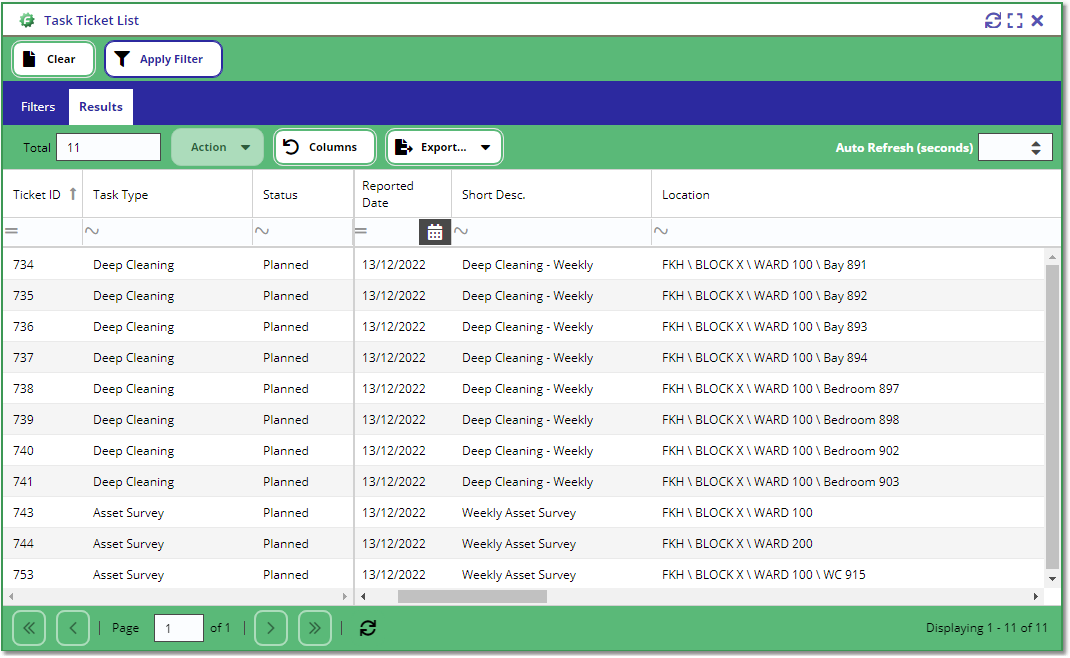
Select 1 or more ticket from the list (you can multi-select tickets from the list by holding down the Shift or Ctrl key from your keyboard).
Then click the Action -> Cancel Ticket button from the toolbar.
Note: You can't cancel an already closed ticket and you can't cancel a ticket that is currently being worked on (ticket with an open WIP event).
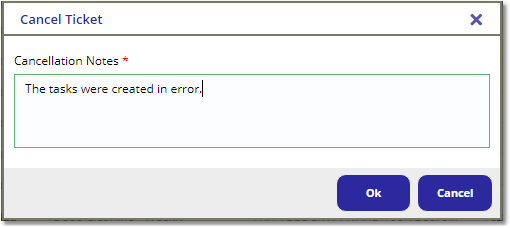
Add the cancellation notes and press Ok to start the ticket cancellation process.
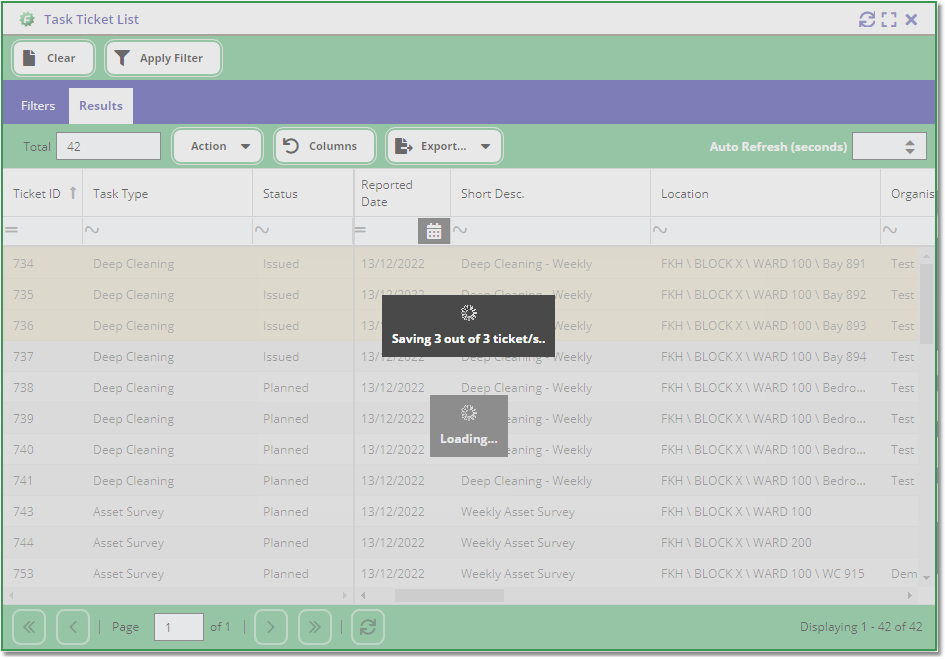
You should get a loading mask to show you how many tickets are being canceled.
A confirmation box will appear momentarily to indicate that the allocation process is finished.

