|
This page will be all about create a new asset record and how to move assets to another location/organisation, and how to set up meter reading & legionella reading assets. |

•Setting up the asset meter reading configurations
•Setting up the asset legionella reading configurations
•Moving assets to a new location/organisation
Creating a new Asset Type / Condition / Acquisition Type / Disposal Type:
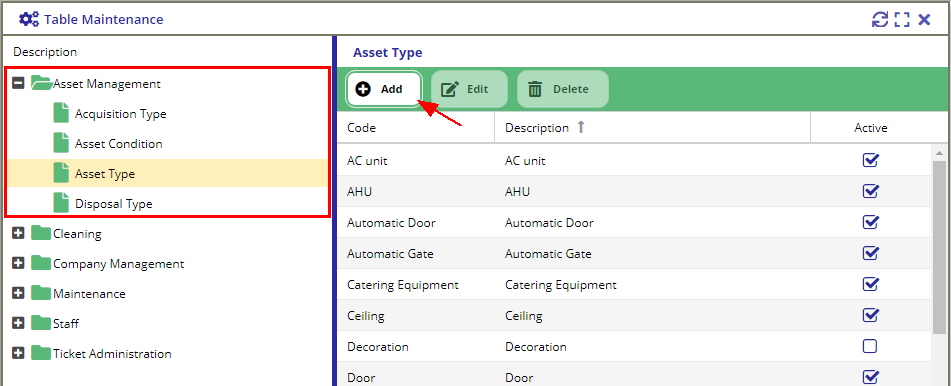
To create a new asset type, go to Maintenance > Table Maintenance.
Expand Asset Management from the Table Maintenance view and select the field that you want to add the option to e.g. Asset Type.
Click on the Add button to display the form. Populate the required fields marked with a red asterisk* and press the Add button above the form to save the new option.
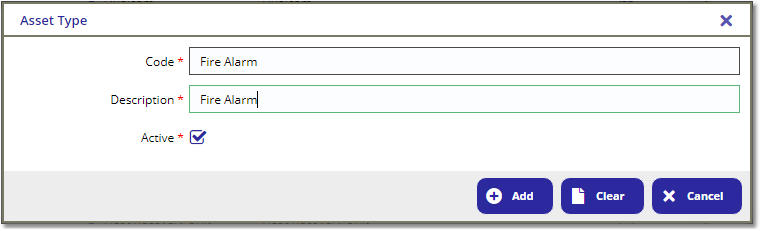
Once the record is created, it will appear in the Table Maintenance list as well as the Asset Type selection field from the Asset Details / List view.
Creating a new Equip Type / Subtype:
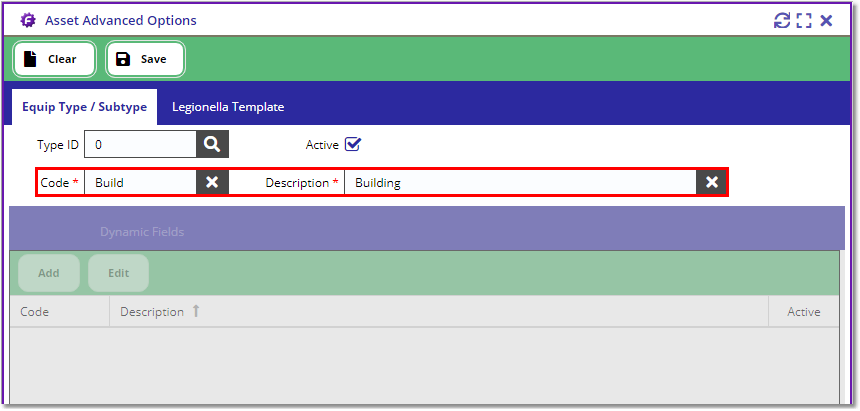
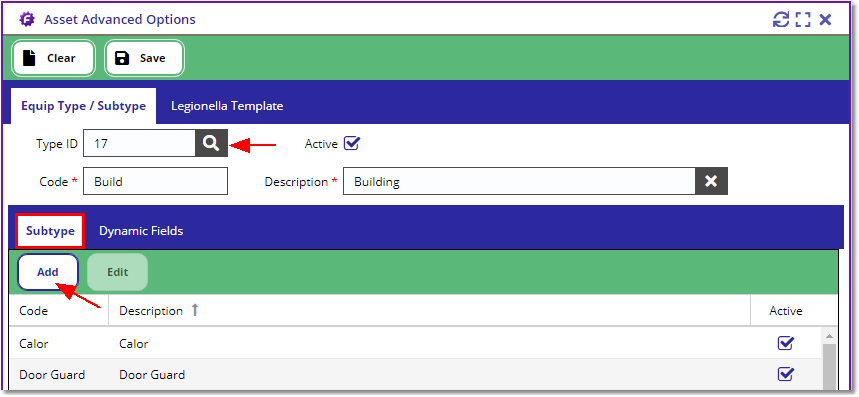
To create a new equipment type/subtype, go to Asset Management > Asset Advanced Options and navigate to the Equip Type/Subtype tab.
To create a new Equipment Type, populate the Code and Description fields from the top form and press the Save button from the top toolbar.
To create a new Equipment Subtype, select the equipment type from the Type ID lookup.
This will load the record in the view and activate the subtype grid at the bottom. Press the Add button to display the subtype form.
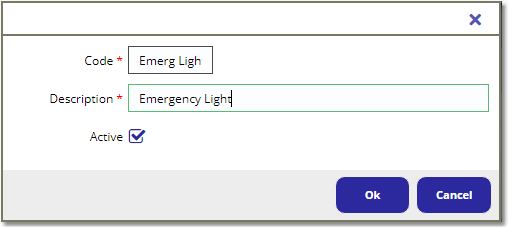
Populate the Code and Description from the equipment subtype form and press the Ok button to save.
The new equipment type and subtype should appear in the selection fields in the Asset Details / List view.
To create a new asset, go to Asset Management > Asset Details view.
On the Details form, fill in all of the required fields marked with a red asterisk*, the rest of the fields are optional then press the Save button to create the asset record.
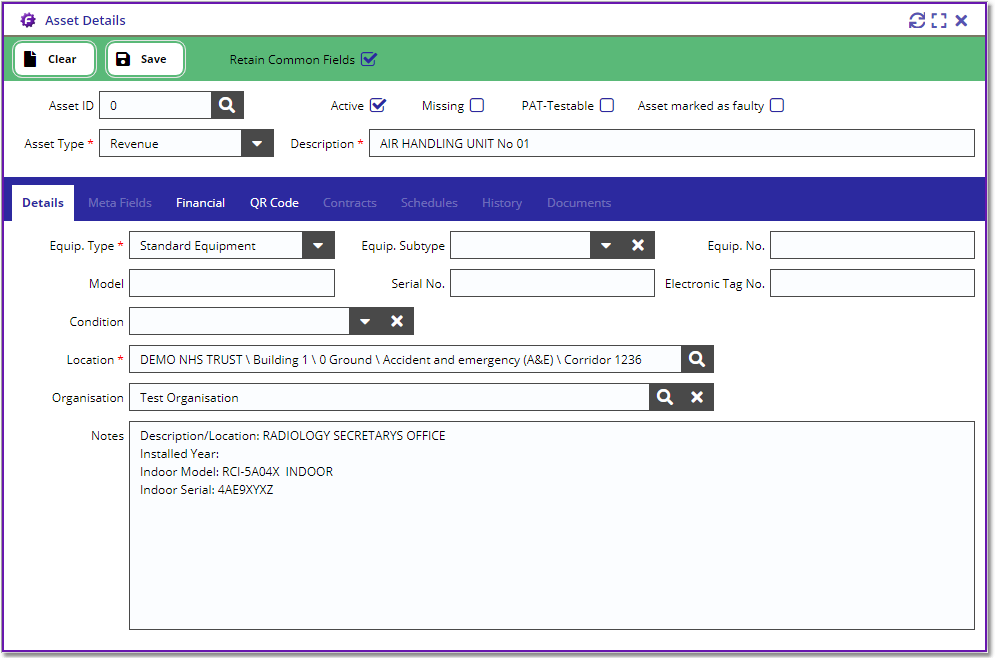
Once the asset record is created, this will generate a new Asset ID and activate the other tabs in the view.
Fill in the rest of the asset information if required. Make sure to press the Save button once you've filled in all the other fields in the Asset Details view.
Note:
If you need to create more assets for the same asset type, equip type, and functional area, tick the Retain Common Fields box at the top before pressing the Clear button.
The action above will reset the Asset Details form and retain the following information: Asset Type, Equip Type, Subtype, Location, and Organisation.
Setting up the asset meter reading configurations
To create a meter asset, follow the steps above but set the Equip. Type value to Meter and choose a meter subtype e.g. Gas, Oil, Water, Electricity, etc.
Once the meter asset is created, this should display the Meter Readings tab in the Asset Details view.
Click the Asset Details > Meter Readings tab and apply the necessary configurations in the Meter Config form.
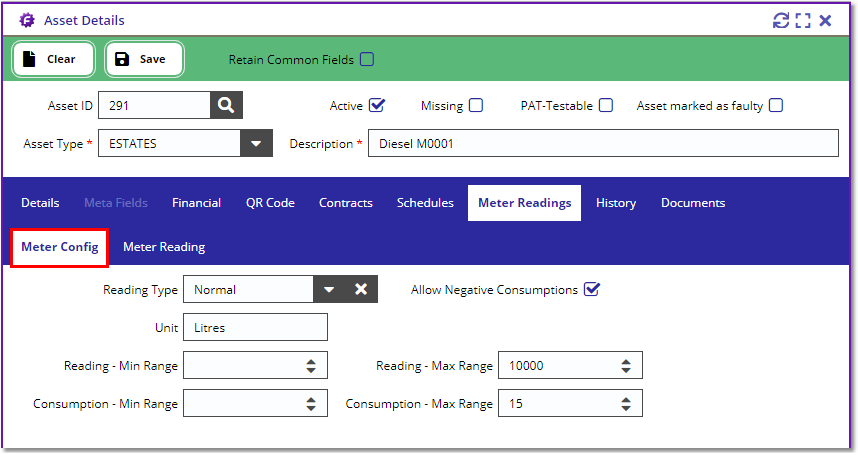
Meter Reading Configs:
Reading Type |
Normal or Low/Normal |
Unit |
(Free text) e.g. Litres, KWHS, m3, etc. |
Note, the below configurations will only generate a remedial ticket if the Remedial Template ID has been setup in the Meter Reading task type. |
|
Reading - Min Range |
Set the minimum meter reading range to trigger the remedial ticket. |
Reading - Max Range |
Set the maximum meter reading range to trigger the remedial ticket. |
Consumption - Min Range |
Set the minimum consumption to trigger the remedial ticket. |
Consumption - Max Range |
Set the maximum consumption to trigger the remedial ticket. |
Setting up the asset legionella reading configurations
To create a legionella asset, follow the steps above but set the Equip. Type value to Legionella and choose a subtype e.g. Ariston, Blended Mixer, Calorifier, etc.
To configure the legionella reading template for each of the legionella subtypes, go to Asset Management > Asset Advanced Options view and navigate to the Legionella Template tab.
Select a Subtype and this will enable the rest of the form:
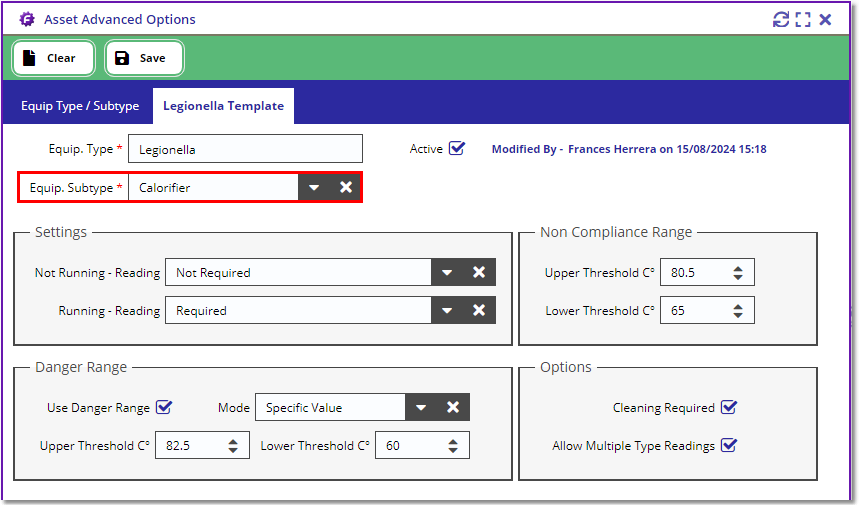
Populate the Legionella Template form based on the subtype and press the Save button.
Note, if the Legionella reading falls outside of the compliance range or within the danger range it will automatically create a remedial ticket if there's a remedial template assigned to the Legionella task type.
Moving assets to a new location/organisation
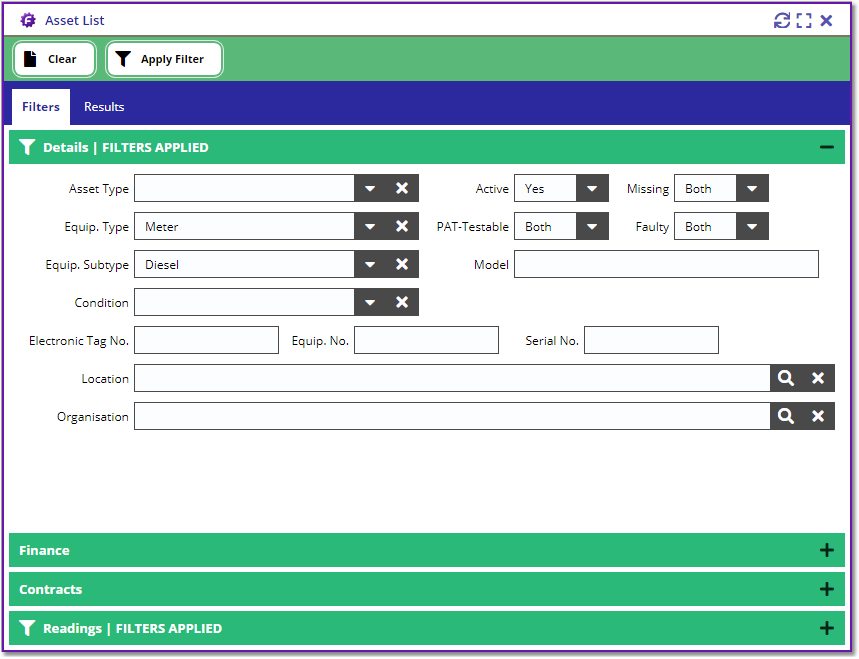
To move assets to a new location or organisation, go to Asset Management > Asset List view.
Apply the relevant filters (e.g. Asset Type, Equip Type, Equip Subtype, Location, etc) in the Filters form and press the Apply Filter button.
Navigate to the Results tab and select the assets that you want to move from the list (note, you can multi-select the assets by holding the Shift or Ctrl key on your keyboard).
Click the Action / Change Location or Change Organisation button from the toolbar.
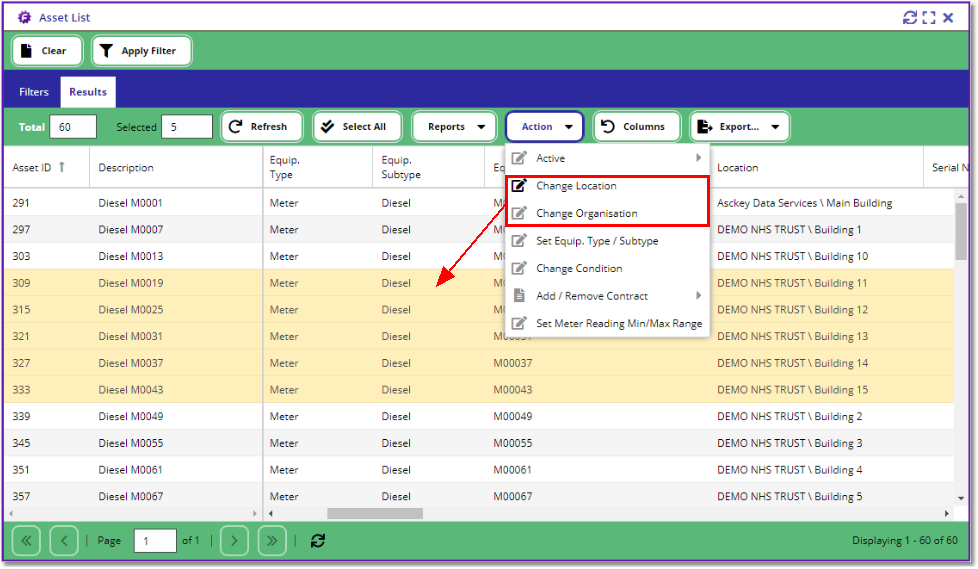
Select your target location/organisation from the lookup and this will start the moving process.
Note: If you cannot find the new location/organisation from the list, then you may want to create the location/organisation record by following this guide.
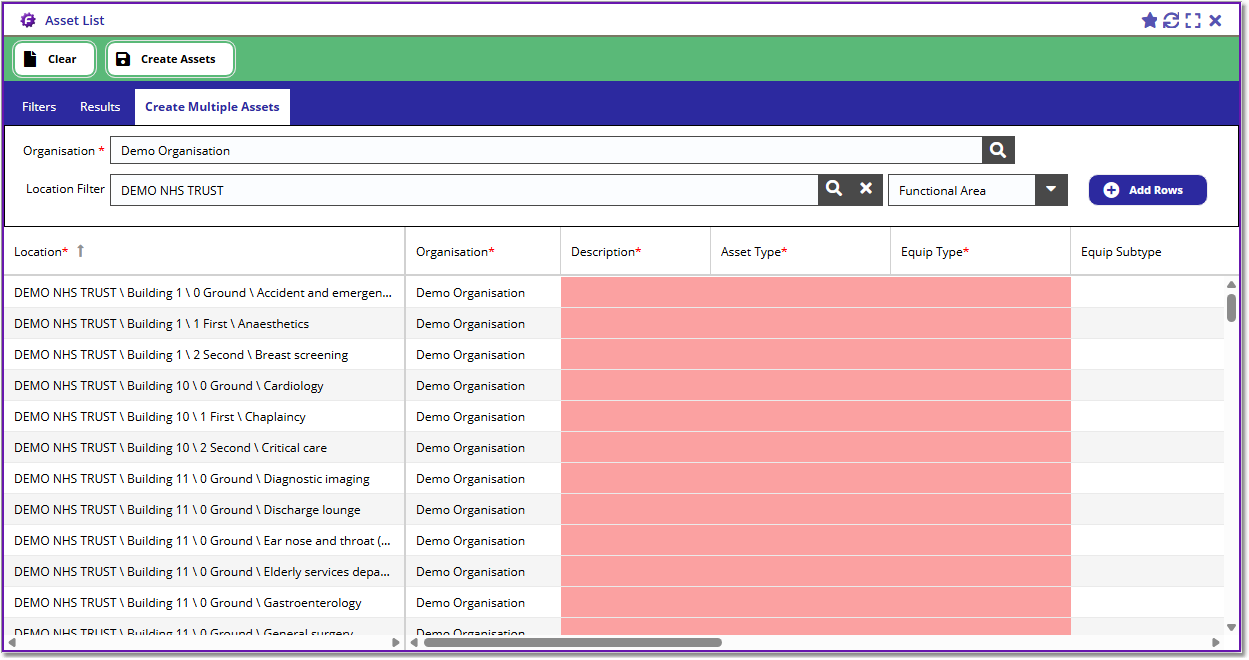
To create multiple assets, go to the Asset List / Create Multiple Assets tab.
The top component is a regular form, where the user specifies the Asset Type, Equip. Type, Equip. Subtype, and Organisation default values and select a Location filter:-
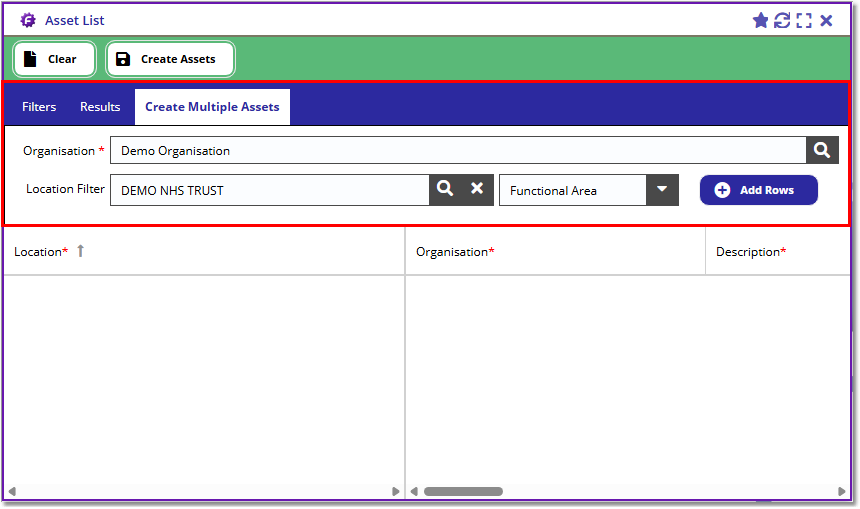
If you select a Block filter and select Functional Area on the selection box next to it, this will add ALL the functional areas that belong to the block on the import grid at the bottom.
If you set the multiply* field to 2, it will then add 2 entries per functional area in the block.
In this example, the selected location filter is Sample Site 1 \ Block 1, tier is set to Functional Area, and multiply* set to 2.
Once the above form has been filled in, press the [ Add Row ] button to populate the import grid.
If you want to create assets for ALL sites, then leave the Location Filter empty and select Site on the tier selection box e.g.:
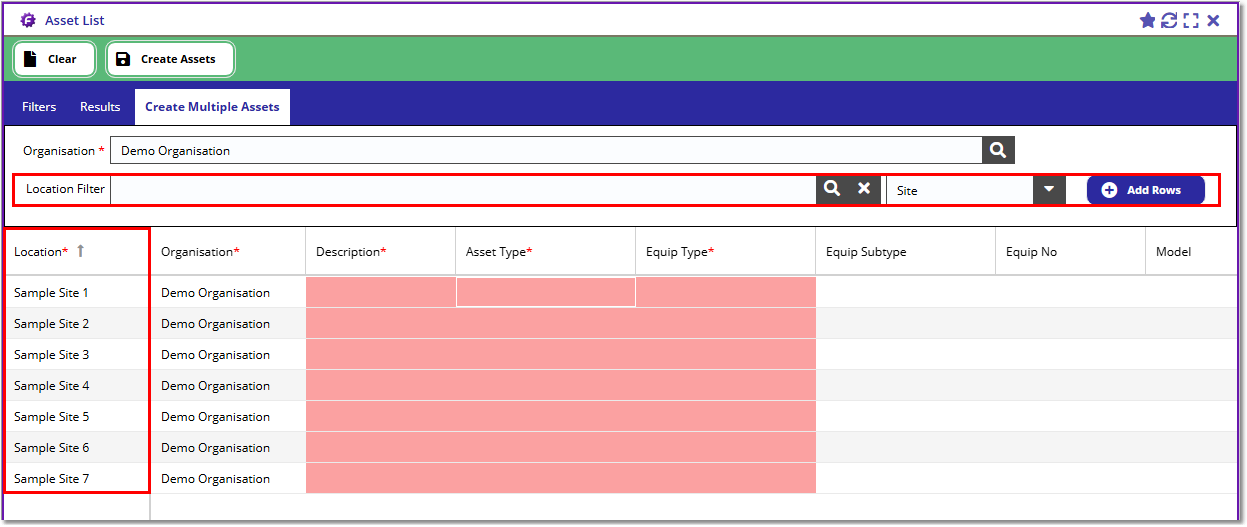
The bottom component is a spreadsheet-like grid where the user can type in values and/or copy+paste values or drag cell values in the grid to populate multiple rows easily.
The required fields will be highlighted in red if left blank, like the Description*, Asset Type*, and Equip Type* columns on the above photo.
Fill in all the relevant fields, you can scroll to the right to get the rest of the asset columns.
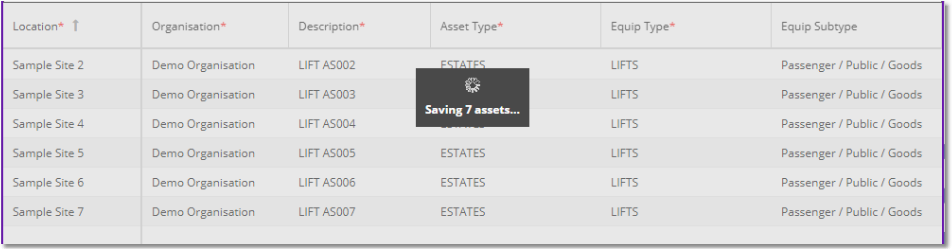
Once all the relevant asset information has been filled in, press the [ Create Assets ] button from the top toolbar to start the creation process.
Important Note:
|
If you want to remove some of the location entries in the grid, you can delete them by scrolling to the right-most column of the grid and click on the delete icon on the row you want to remove. |
When the creation process has started, you should see a loading mask in the grid to show the number of assets it needs to create:
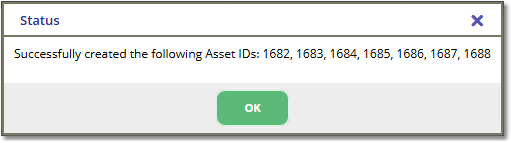
Once the process is finished, you should get a confirmation box listing the created asset IDs: