|
This page will be all about setting up a new device in the system. We will go through how to register a new device token and how to authorise the device token. |

•Updating / Clearing the device token
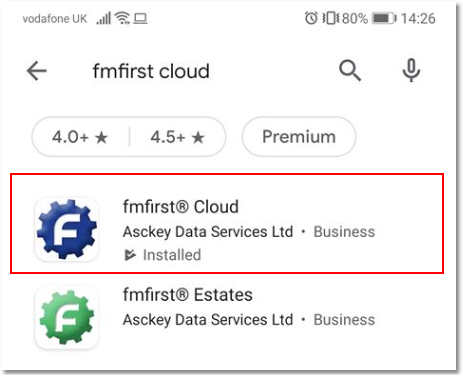
For Android users, you can download the app from Google Play.
For iOS users, you can download the app from the App Store.
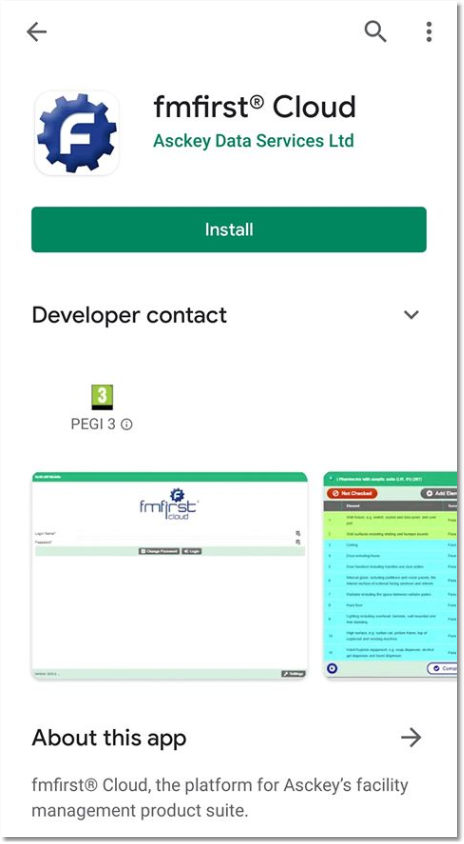
Type "fmfirst cloud" from the search box and find the fmfirst® Cloud app. Select the app from the list and click install.
Alternatively, you can navigate to the 2025 mobile app via your device browser by using one of the following links:
LIVE URL |
|
DEMO URL |
|
BETA URL |
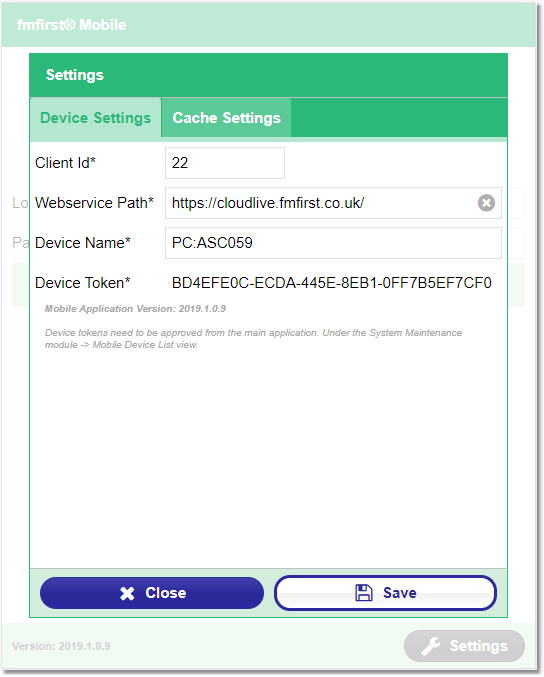
Once in the mobile application, press the Settings button. The user will be presented with the following view, with the Client Id and Device Name blank.
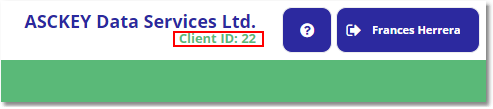
Client Id |
The Client Id value is displayed on the main application's header panel below the company name e.g.:
|
Webservice Path |
LIVE: https://cloudlive.fmfirst.co.uk/
DEMO: https://clouddemo.fmfirst.co.uk/
BETA: https://cloudbeta.fmfirst.co.uk/
|
Device Name |
Give the device a unique name, this will be displayed on the Mobile Device List view as a friendly name for the token.
|
Device Token |
Read-only. Randomly generated unique identifier
|
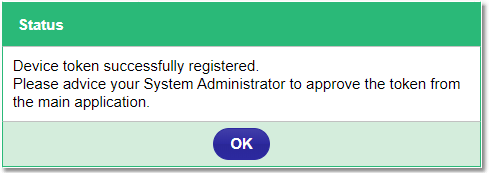
Pressing save will register the device, awaiting authorisation in the main application.
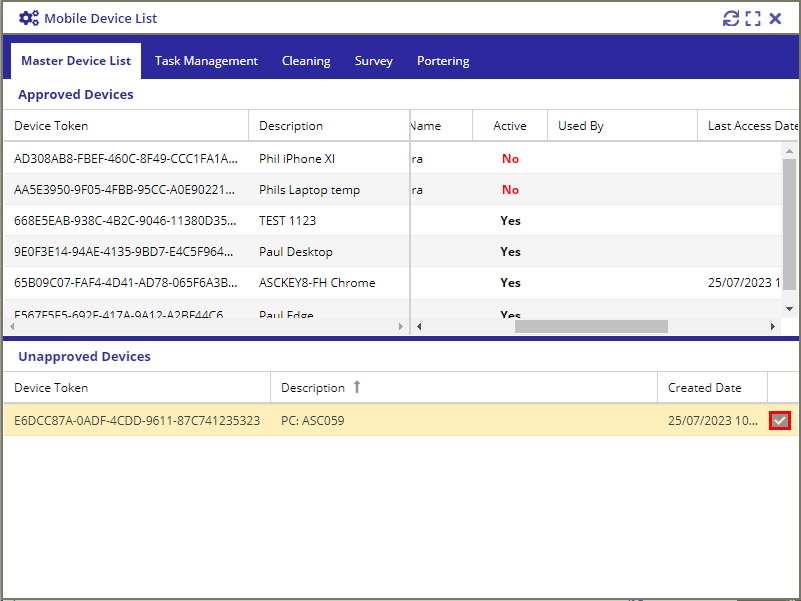
To authorise the device token, you will need to login to the main application and go to the Mobile Device List view found under Menu > Maintenance module:

The mobile device list is split into two panels; Approved Devices and Unapproved Devices.
Selecting the grey tick from the Unapproved Devices list will authorise the device:
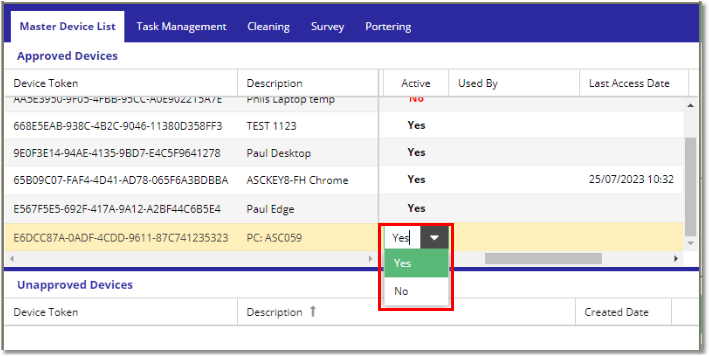
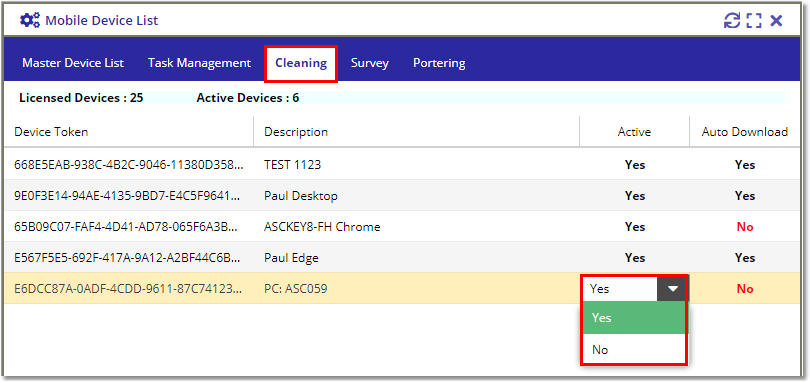
The user will then need to activate the device from the Approved Devices list then navigate to the module tab e.g. Cleaning and give access to the module:
Note, in the Cleaning & Task Management tab, you can opt to activate or deactivate the Auto Download flag.
When Auto Download is set to Yes, when the user logs in to the mobile application, the download process will automatically download all the outstanding audits/tickets that are allocated to the user including all their child records e.g. rooms, elements, survey links, etc.
When Auto Download is set to No, when the user logs in to the mobile application, the download process will only download the audit group/ticket information initially. Then when a user clicks on the audit group/ticket, the app will then fetch the rest of the audit/ticket information and child records that are assigned to the selected record.
Updating / Clearing the device token
Once a device token is created and saved, any changes to the device settings will require the user to type in a Mobile Pin Code (if it has been set up in the System Parameters).
To clear the device setting / token on the mobile application, go to Settings > Cache Settings page and check the Device Settings / Token option.
Once checked, click on the red Clear Cached Data button. This should bring up the Pin Required dialog.

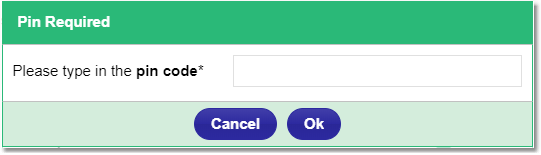
Type the Mobile Pin Code and click on the OK button.
The mobile application should save all the changes once a valid pin code is typed in.