|
This page will be all about creating a room in the system. We will go through how to create a new room, configure room types, assign room type/elements to rooms, and how to assign individual elements to rooms. |

•Adding extra fields to collect room data
•Assigning room type/elements to rooms
•Assigning room types to multiple rooms
•How to set up the Room QR code
To create a new room, go to Menu > Maintenance > Physical Location - Rooms.
On the Details form, fill in the required fields marked with red asterisk (*), the other fields are optional. Then click the Save button on top of the form:
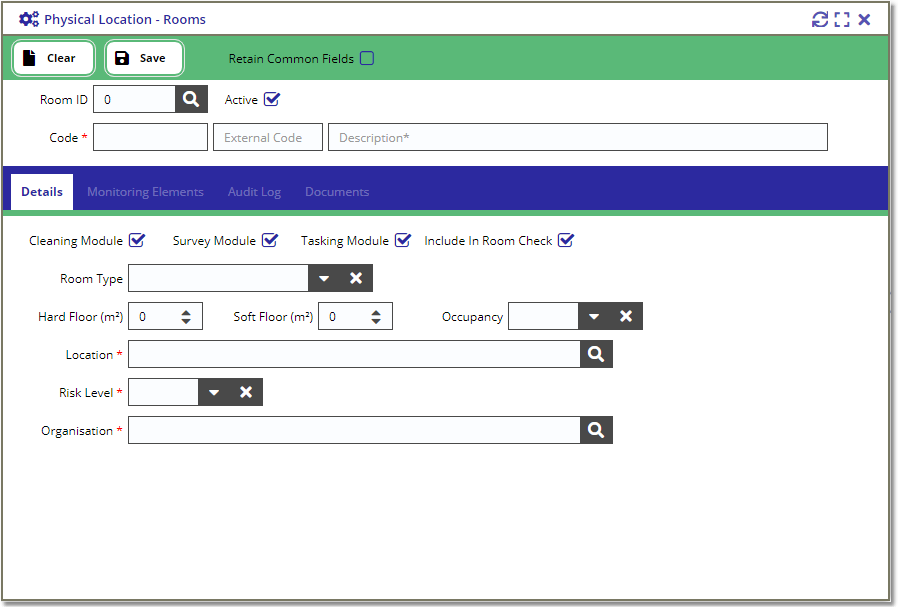
Once saved, the system will generate a new Room ID. This will be a unique ID throughout the system.
Tips
|
If you want to create multiple rooms for the same location, then check the Retain Common Fields box from the toolbar so when you press Clear, this will retain the selected Location, Risk Level, Organisation, Room Type, and Floor Area values. |
|
You can select which rooms are active for each module (Cleaning, Survey, and/or Tasking) by ticking the module boxes from the Details form. |
|
The Risk Level field at the bottom of the Details form is only visible if the "Allow for Location Risk Override in Rooms" is set to "Yes" from the System Parameters view. |
Adding extra fields to collect room data
To add extra fields for the room data, go to Menu > Maintenance > Advanced Options view and navigate to the Room Extra Fields tab.
Click the Add button from within the tab toolbar to display the form for adding a new field.
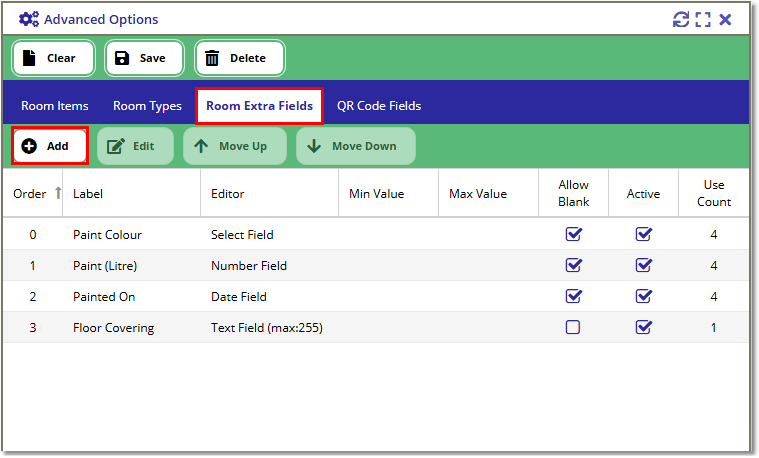
Fill in the Label and Editor fields as shown below:
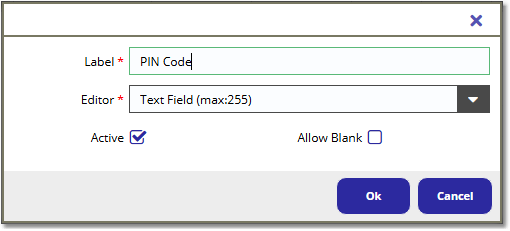
Note: Tick the Allow Blank box if the field is an optional field.
The available editors are:
Text Field |
Free text field with maximum length of 255 characters. |
Notes Field |
Free text field with maximum length of 8000 characters. |
Select Field |
Free text field which collects the distinct/unique list of values and shows them as options in the field. |
Number Field |
Number only field (no decimals). |
Decimal Field |
Number only field (with decimals). |
Checkbox |
Check field which stores a true/false value. |
Date Field |
Date only field. |
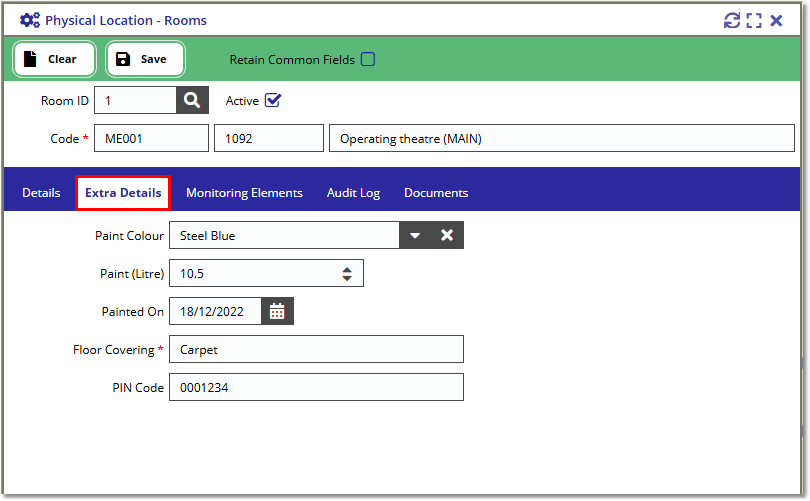
The extra field/s will appear in the Physical Location - Room > Extra Details tab:
To create new room types, go to Menu > Maintenance > Advanced Options view and navigate to the Room Type tab:
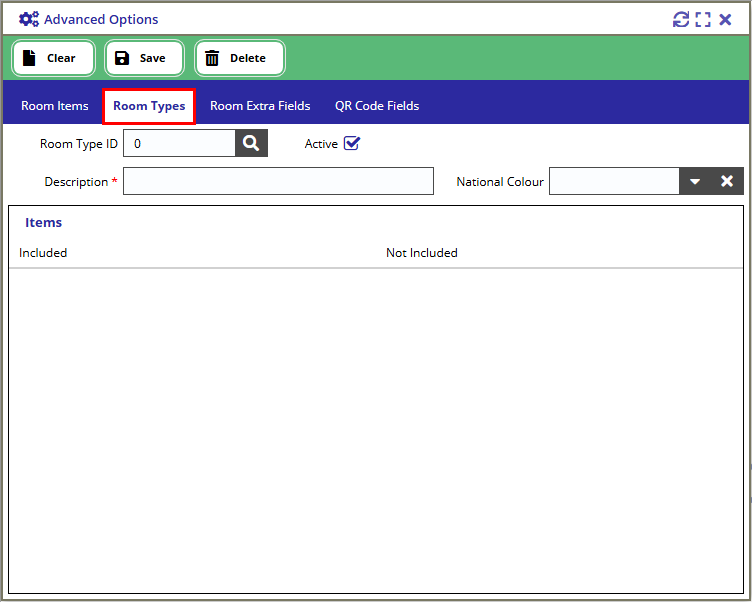
Populate the form and press the Save button to create a new room type record.
Note: The required fields are marked with a red asterisk (*).
Once created, you can assign elements against the Room Type. You can do this by going to Menu > Cleaning > Monitoring Elements List view and click on the Room Type Elements tab:
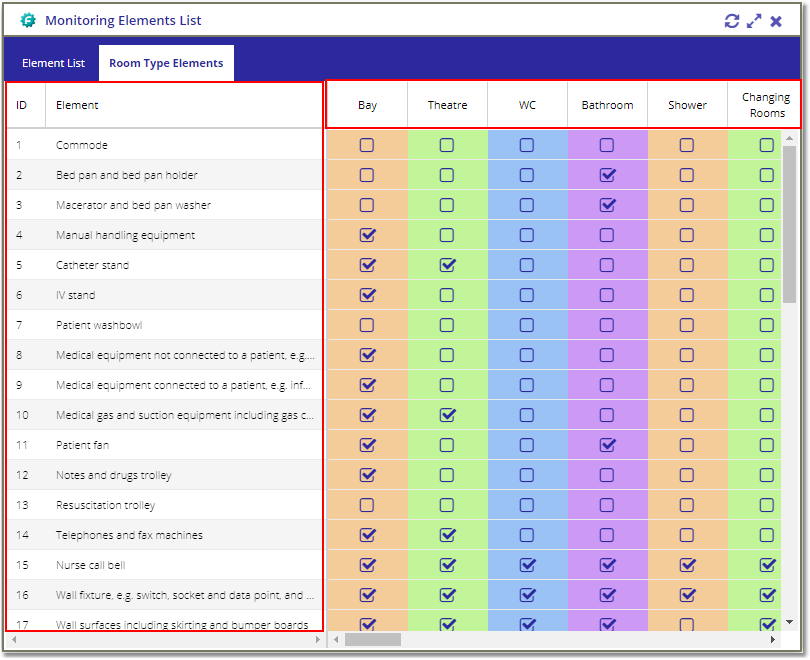
The first 2 columns are the Element Id and Element Description, the remaining columns are the available room types.
Scroll to the room type and tick the boxes of the elements you want to assign to it e.g. based on the image above, Theatre will have the following elements:
5 - Catheter Stand
10 - Medical gas and suction equipment including gas cylinder holder
14 - Telephones and fax machines
15 - Nurse call bell
16 - Wall fixture, e.g. switch, socket and data point, and cord pull
17 - Wall surfaces including skirting and bumper boards
Assigning room type/elements to rooms
To assign elements against the rooms, go to Menu > Maintenance > Physical Location - Rooms.
To load the room record, open the lookup by clicking on the search icon next to the Room ID field. Select a room from the lookup by double clicking or highlighting the row and click on the Select button.
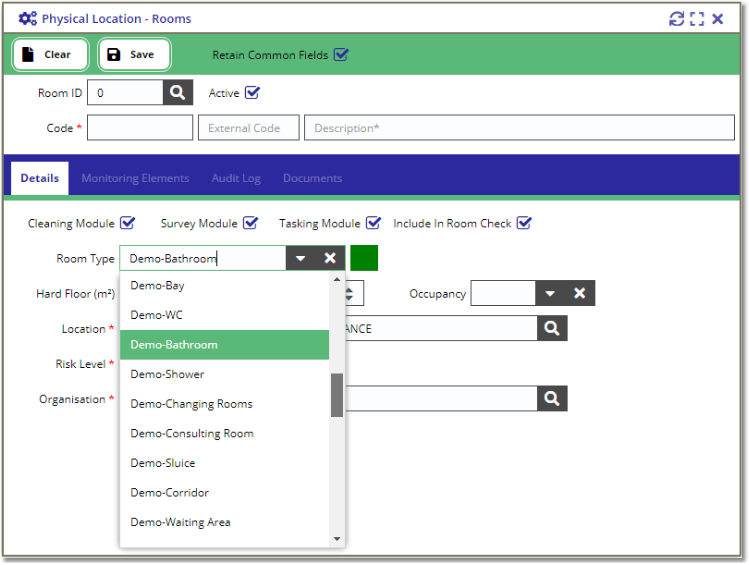
Once loaded, click on the Room Type select field, and select an option e.g. Demo-Bedroom:
For new rooms, selecting a room type and clicking Save should copy the elements defined on the room type.
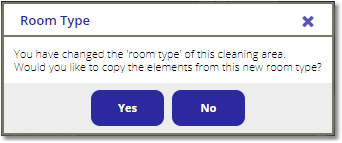
However, for existing rooms, clicking Save will display the following prompt:
Selecting Yes on the prompt will copy the elements defined on the Room Type Elements to the Physical Locations - Rooms \ Monitoring Elements and delete the existing elements in the room:
Room type: BEDROOM
Default Elements: Bed, Floor, Wall, Door, Window, Mirror
Room ID 1
Current Elements: Floor, Ceiling, Wall, Door
Once saved, the room element list will end up with the following elements: Bed, Floor, Wall, Door, Window, Mirror
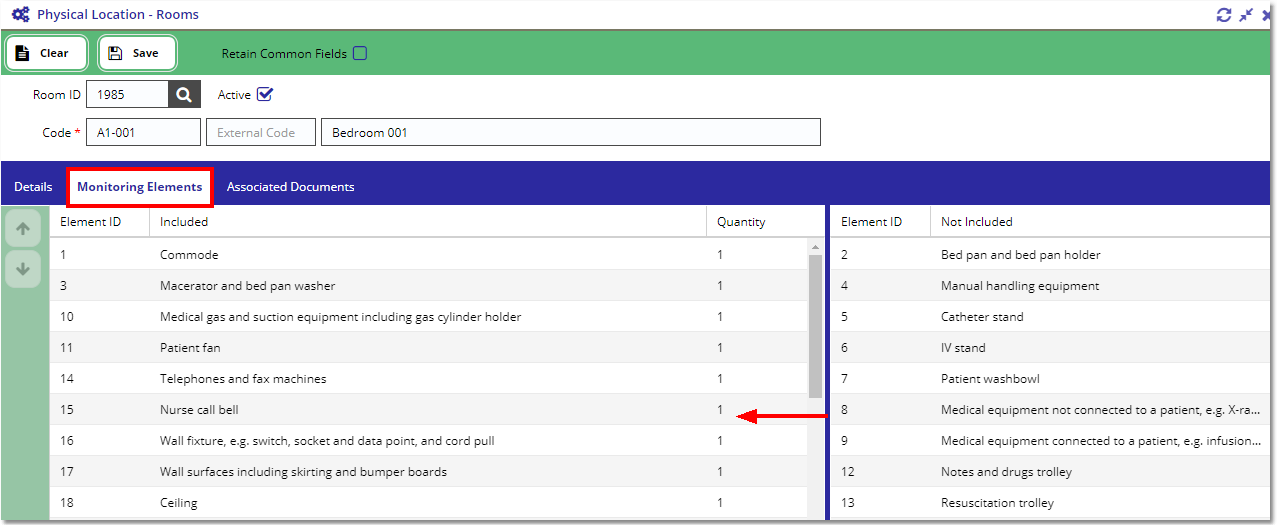
If you want to add more elements to the room, click on the Monitoring Elements tab and DRAG and DROP elements from the Not Included list to the Included list:
Assigning room types to multiple rooms
To assign room type to multiple rooms, go to Menu > Maintenance > Physical Location - Room List view.
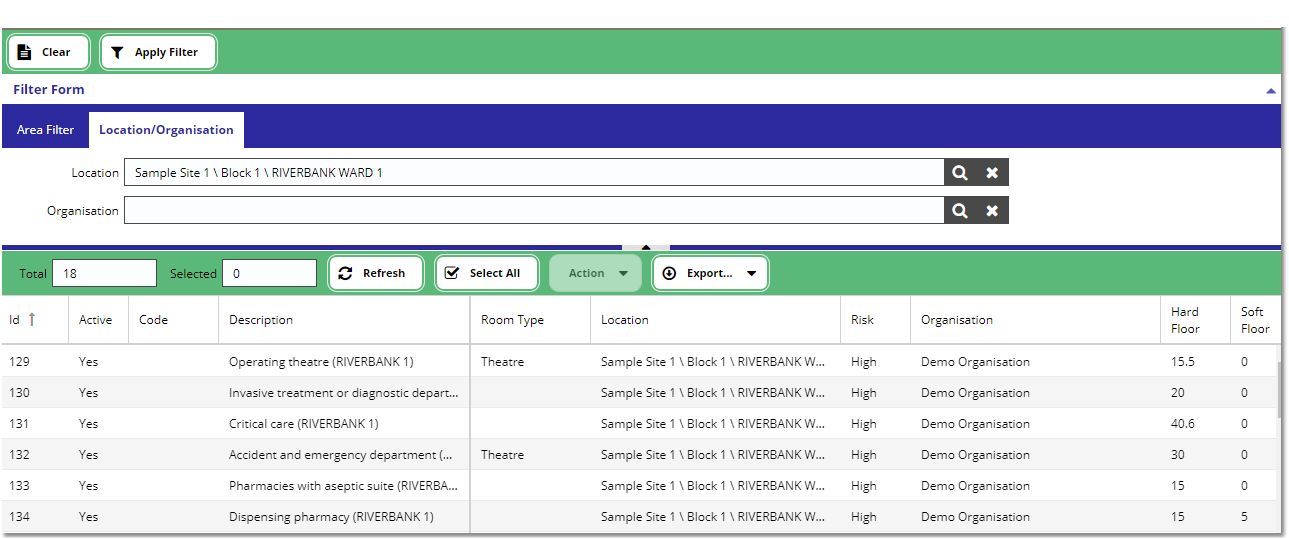
Fill in the Filter Form, e.g. Location filter of Sample Site 1 \ Block 1 \ RIVERBANK WARD 1, and click on the Apply Filter button. This should return all the available rooms against the selected functional area:
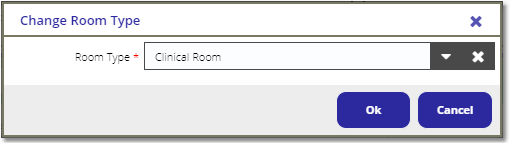
Multi-select rooms from the list and click on the Action button menu and select Change Room Type . This should open the Change Room Type form:
Select a Room Type from the select field and click Ok :
This will assign Clinical Room on the selected rooms' room type field and also overwrite the elements that are previously set on the rooms with the element set on the room type.
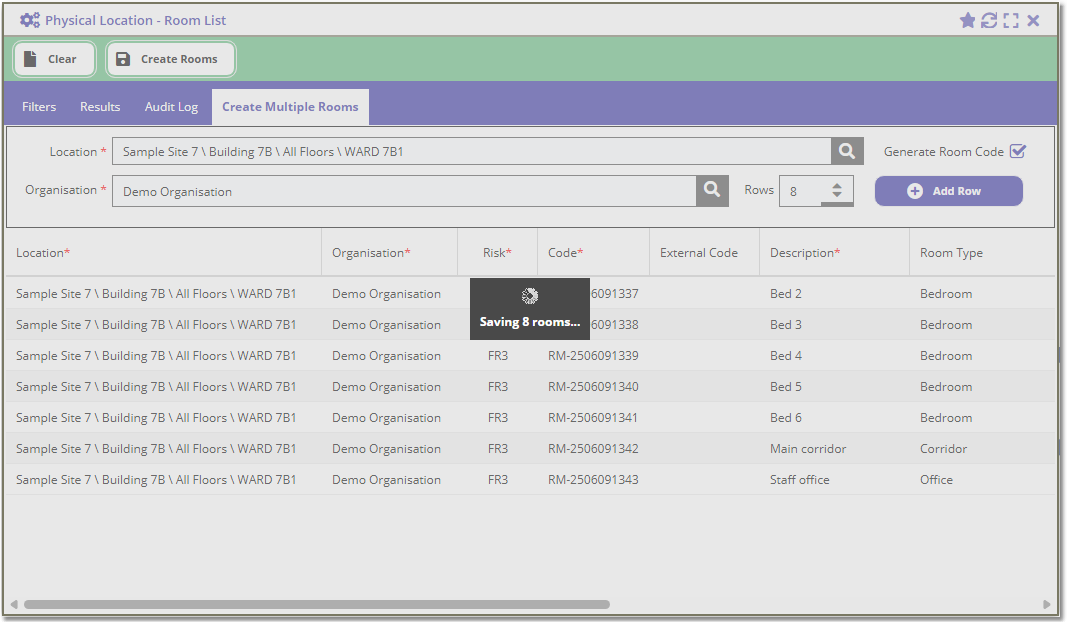
To create multiple rooms for a functional area, go to the Physical Location - Room List / Create Multiple Rooms tab.
The top component is a regular form, where the user specifies the functional area and the organisation, the number of rooms they want to create, and a tick-box to specify whether they want the system to generate room codes for the new rooms:-
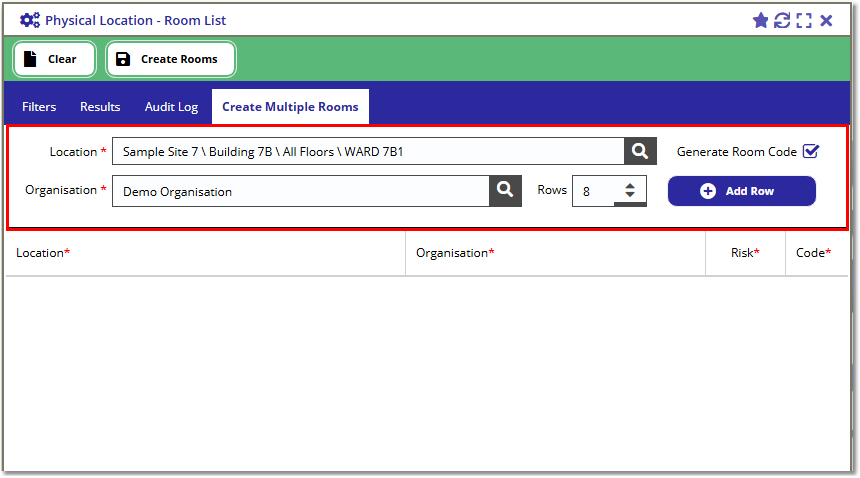
The above form means we want to create 8 new rooms on the WARD 7B1 functional area and allocate them to the Demo Organisation and the system must auto-generate the room codes.
Once the above form has been filled in, press the [ Add Row ] button to populate the import grid.
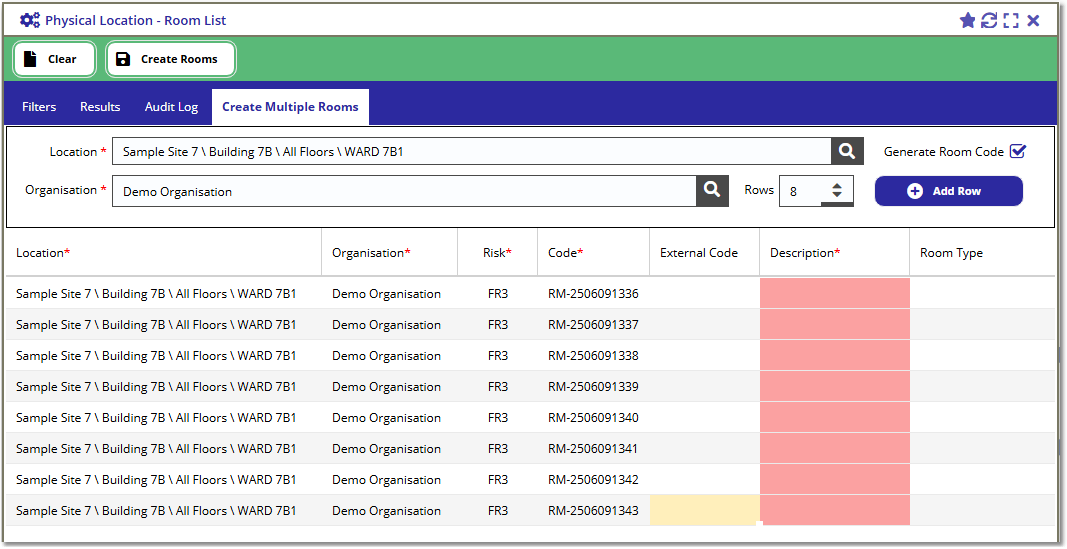
The bottom component is a spreadsheet-like grid where the user can type in values and/or copy+paste values or drag cell values in the grid to populate multiple rows easily.
The required fields will be highlighted in red if left blank, like the Description* on the above photo.
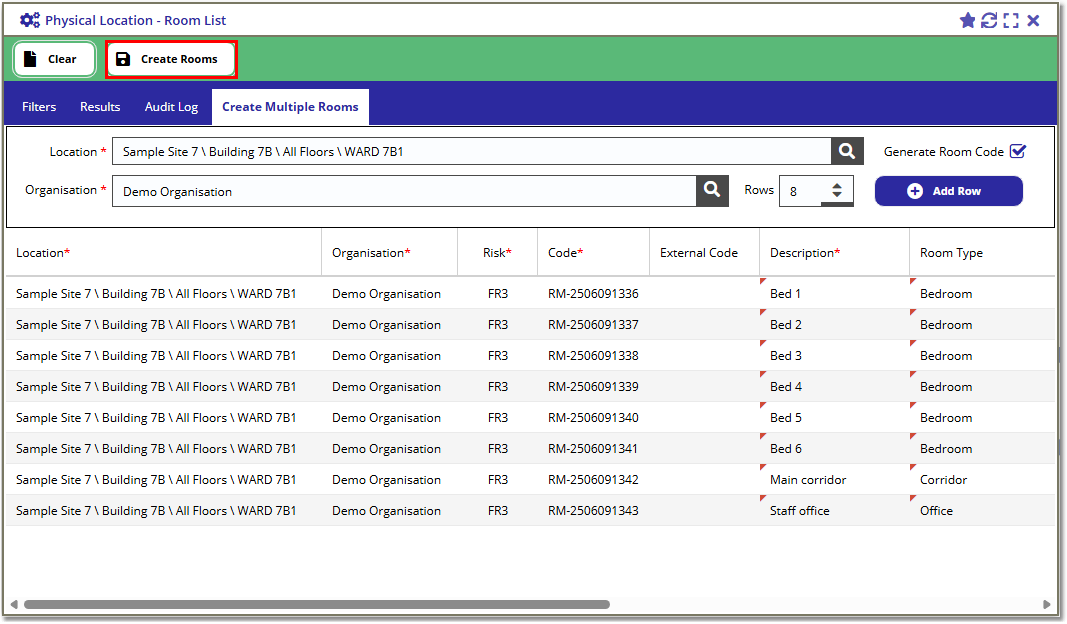
Fill in all the relevant fields, you can scroll to the right to get the rest of the room columns. Once all the relevant room information has been filled in, press the [ Create Rooms ] button from the top toolbar to start the creation process.
Important Note:
|
If you added extra rooms by mistake, you can delete them by scrolling to the right-most column of the grid and click on the delete icon on the row you want to remove. |
|
The Room Type column is optional but if these rooms are for auditing (in the Cleaning module), then we strongly advise that you populate this column otherwise no elements will be added on the new rooms. |
When the creation process has started, you should see a loading mask in the grid to show the number of rooms it needs to create:
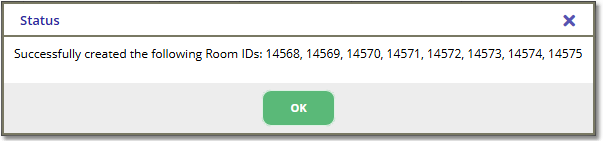
Once the process is finished, you should get a confirmation box listing the created rooms and their IDs:
How to set up the Room QR code
To configure the Room QR code details, go to the Maintenance / Advanced Options view and navigate to the QR Code Fields tab.
Select the Physical Locations - Rooms tab, this will show you the available data fields for the Room records e.g.:

Tick the Active box if you want the information added on the QR Code.
Tick the Display box if you want the field data written out next to the QR Code.
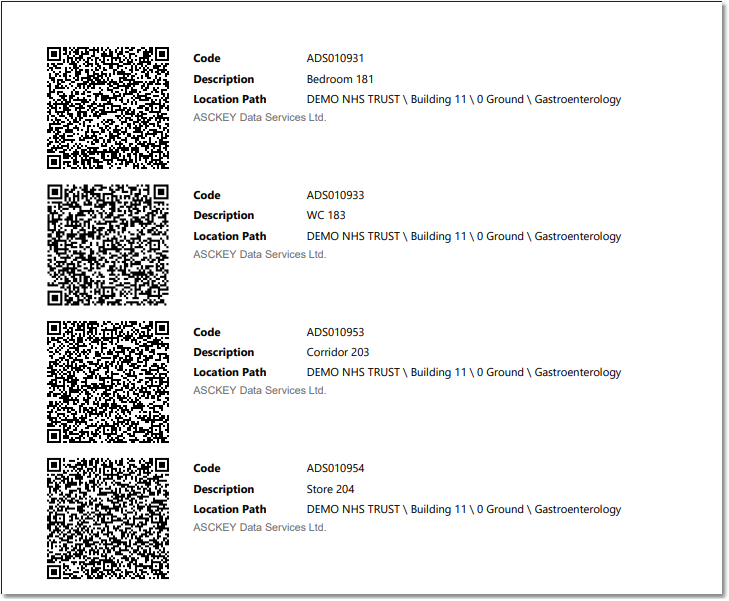
The above image shows that Code, Description, Location ID, Location Path, Organisation ID, Risk Level ID, and Room ID fields are Active with Code, Description, and Location Path in the Display which will generate the following QR code:
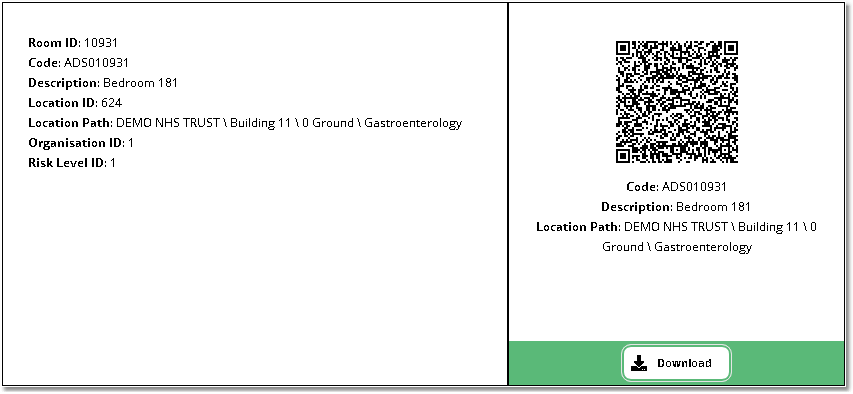
The information on the left is what the device reads when you scan the QR code.
Important Note: If you want to use the QR code in fmfirst-cloud mobile, it is important that the Room ID field is active.
The ID field is what the application use to search the Room records.
To generate the QR Code, go to the Physical Location - Rooms view and go to the QR Code tab.
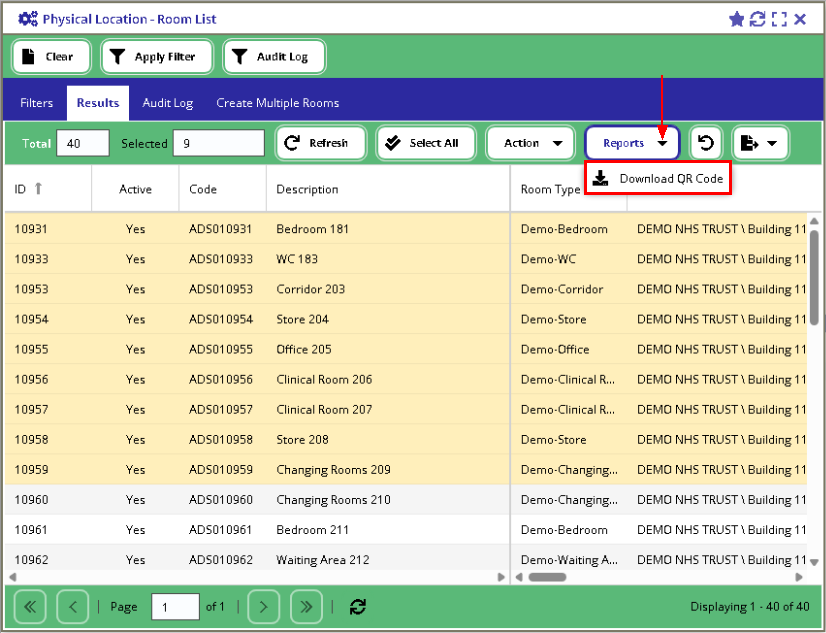
To generate the QR Code for multiple rooms, go to the Physical Location - Room List view, apply the applicable filters, then navigate to the Results tab.
Select the rooms you want to generate from the list then click the Reports > Download QR Code button: