|
You will need an fmfirst® Cloud - Portal user account to perform the actions of this 'How To Guide'. This guide will contain sections on how to populate the cleaning failures' corrective actions. |

•How to view the cleaning failure list
•How to use populate the cleaning failures' corrective actions
Login to the fmfirst® Cloud - Portal Application via the link below:
LIVE |
|
DEMO |
|
BETA |
How to view the cleaning failure list
Go to the Cleaning > Portal - Cleaning Failure List page. The page will have a Filter form and a Results list.
The Filter form will be populated by default, but you can change the filter criteria based on your needs, e.g.:
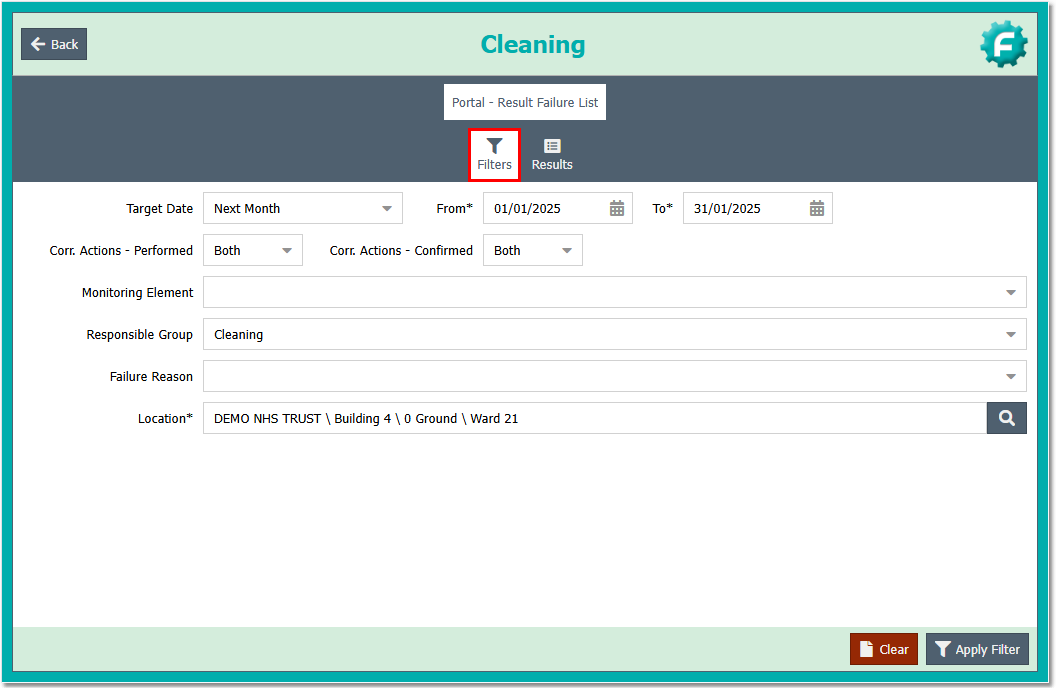
The above filters will return all the failures with target date of 01-31 January 2025 for WARD 21 by the Cleaning responsible group.
Click the Apply Filter to load the failures in the Results list.
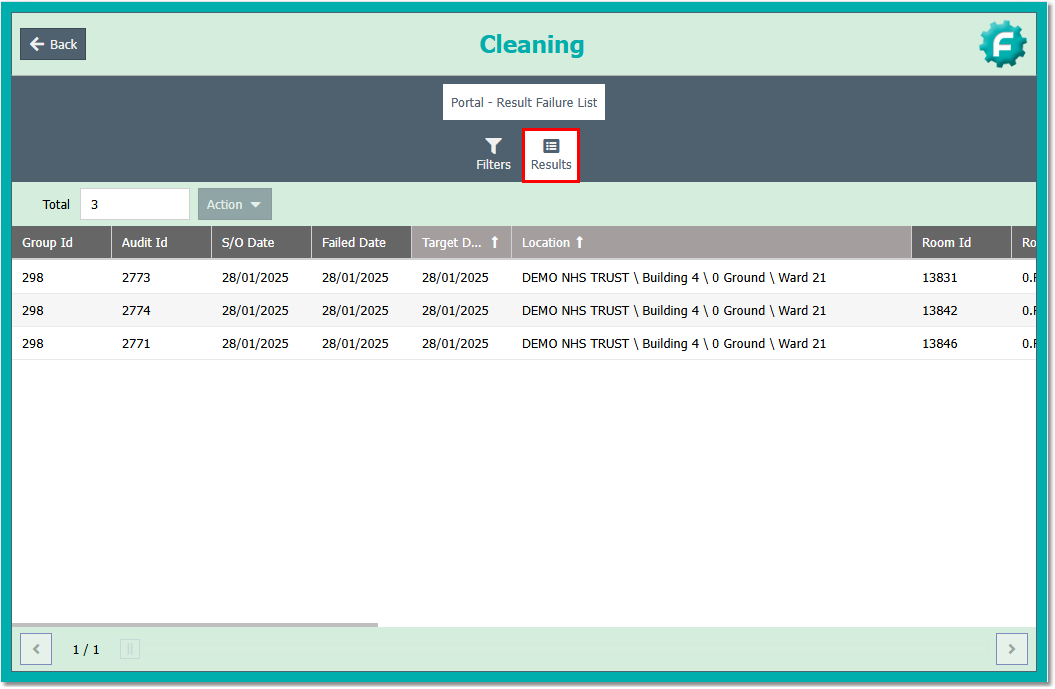
You can scroll the list to the right to view the rest of the failure information:

How to use populate the cleaning failures' corrective actions
Follow the steps above to load the result failure list.
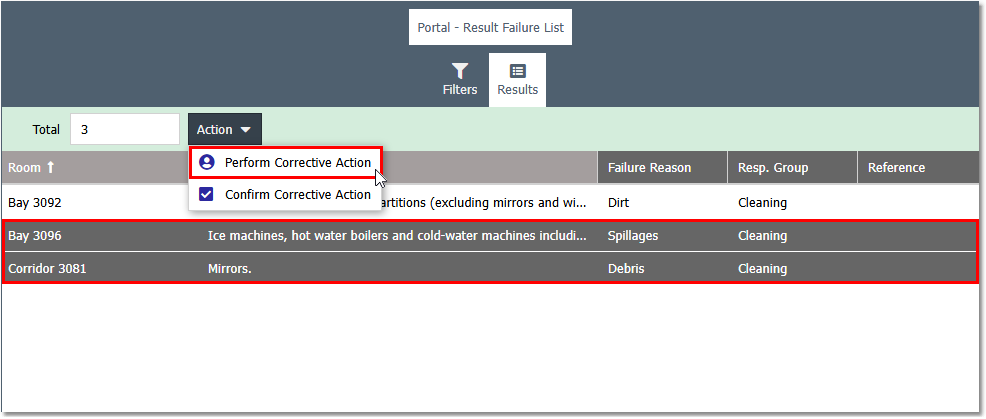
Go to the Results list and select one or more failure items from the list.
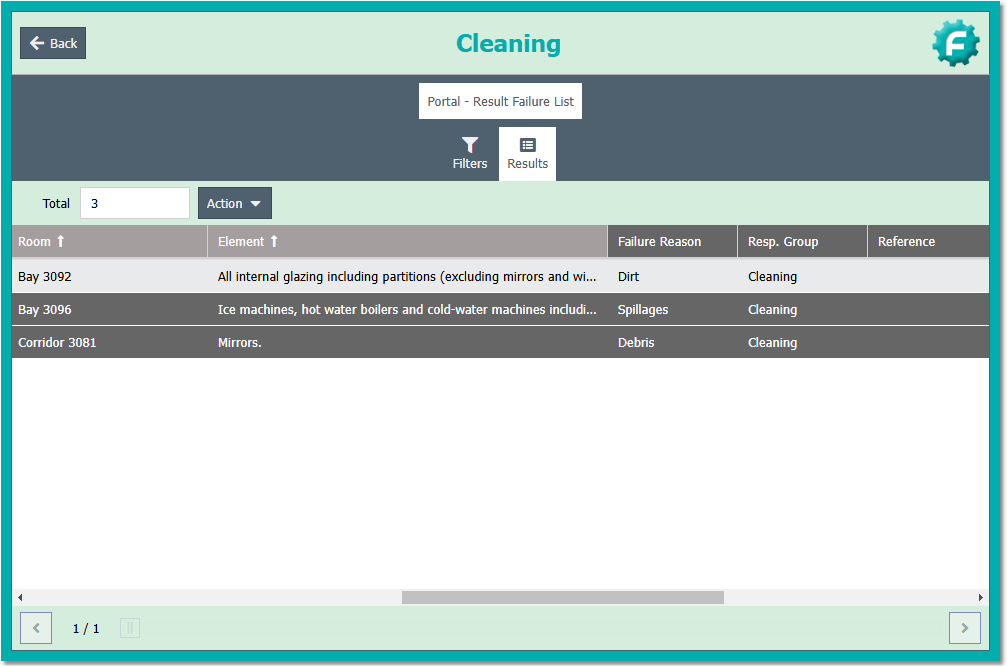
Note: You can select more than one item from the list by holding the CTRL key from your keyboard.
Perform Corrective Actions
You can populate the result failure details and input the name of the person who carried out the corrective actions of the failed element/s and the date of when the action was carried out.
Once you have selected the failures from the list, press the Action > Perform Corrective Action button from the toolbar.
This will display a form in the screen. The form will be populated by default by the login user's name and current date. However, you can still change the values if needed.
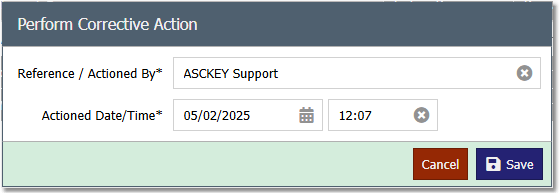
Press the Save button to set the corrective action details against the failure item/s.
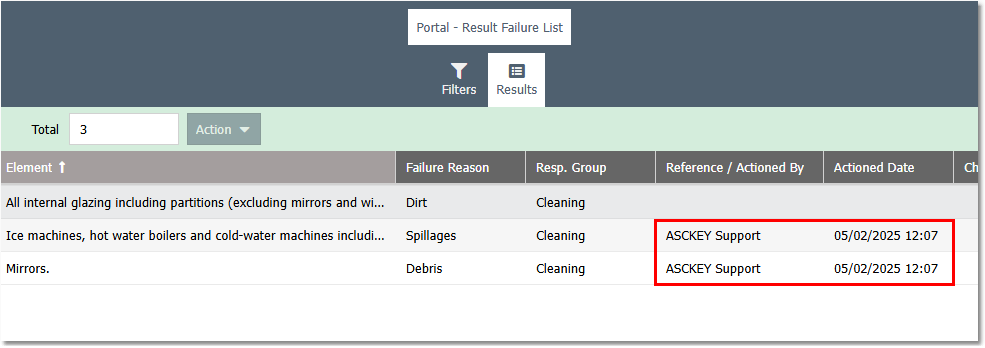
When the record/s have been saved successfully, this will populate the Actioned* columns in the grid:
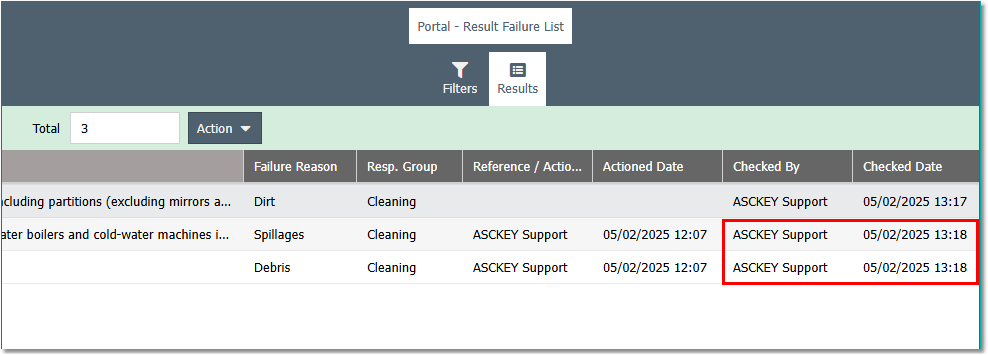
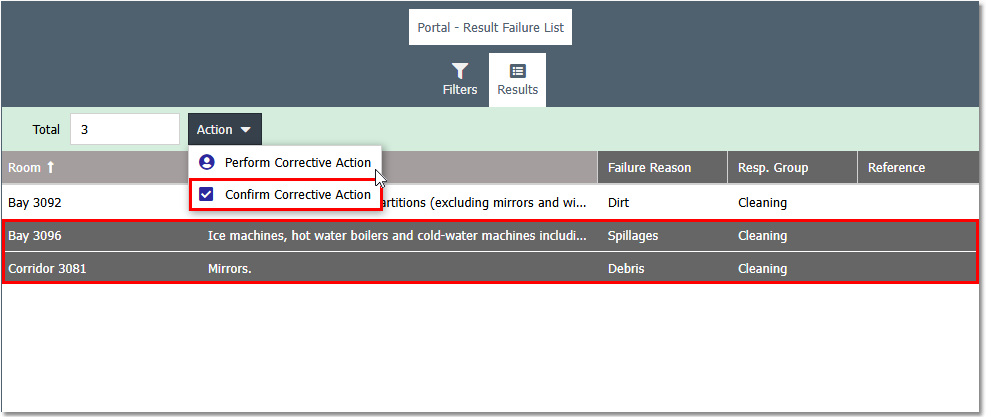
Confirm Corrective Actions
You can populate the result failure details and input the name of the person who checked the corrective actions of the failed element/s and the date of when this has been carried out.
Once you have selected the failures from the list, press the Action > Confirm Corrective Action button from the toolbar.
This will display a form in the screen. The form will be populated by default by the login user's name and current date. However, you can still change the values if needed.
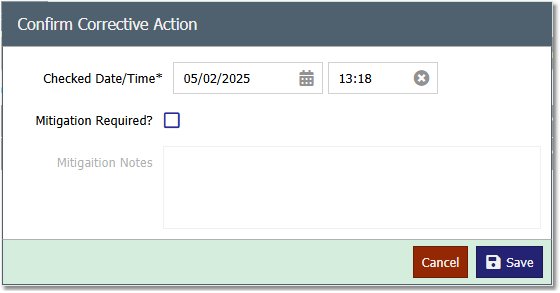
Press the Save button to set the corrective action details against the failure item/s.
When the record/s have been saved successfully, this will populate the Checked* columns in the grid: